Published May 24, 2024
RECAP | Star Trek: Discovery 509 - 'Lagrange Point'
Problem now, science later!
SPOILER WARNING: This article contains story details and plot points for Star Trek: Discovery.

StarTrek.com
Previously, Sylvia Tilly reminds Ensign Adira how nervous they were to be , but they did a great job. They're really finding their way, and they shouldn't be scared to take on more. Meanwhile, Zora interrupts the pair to tell them she found a match for the text on the metallic clue card — Labyrinths of the Mind — a Betazoid manuscript.
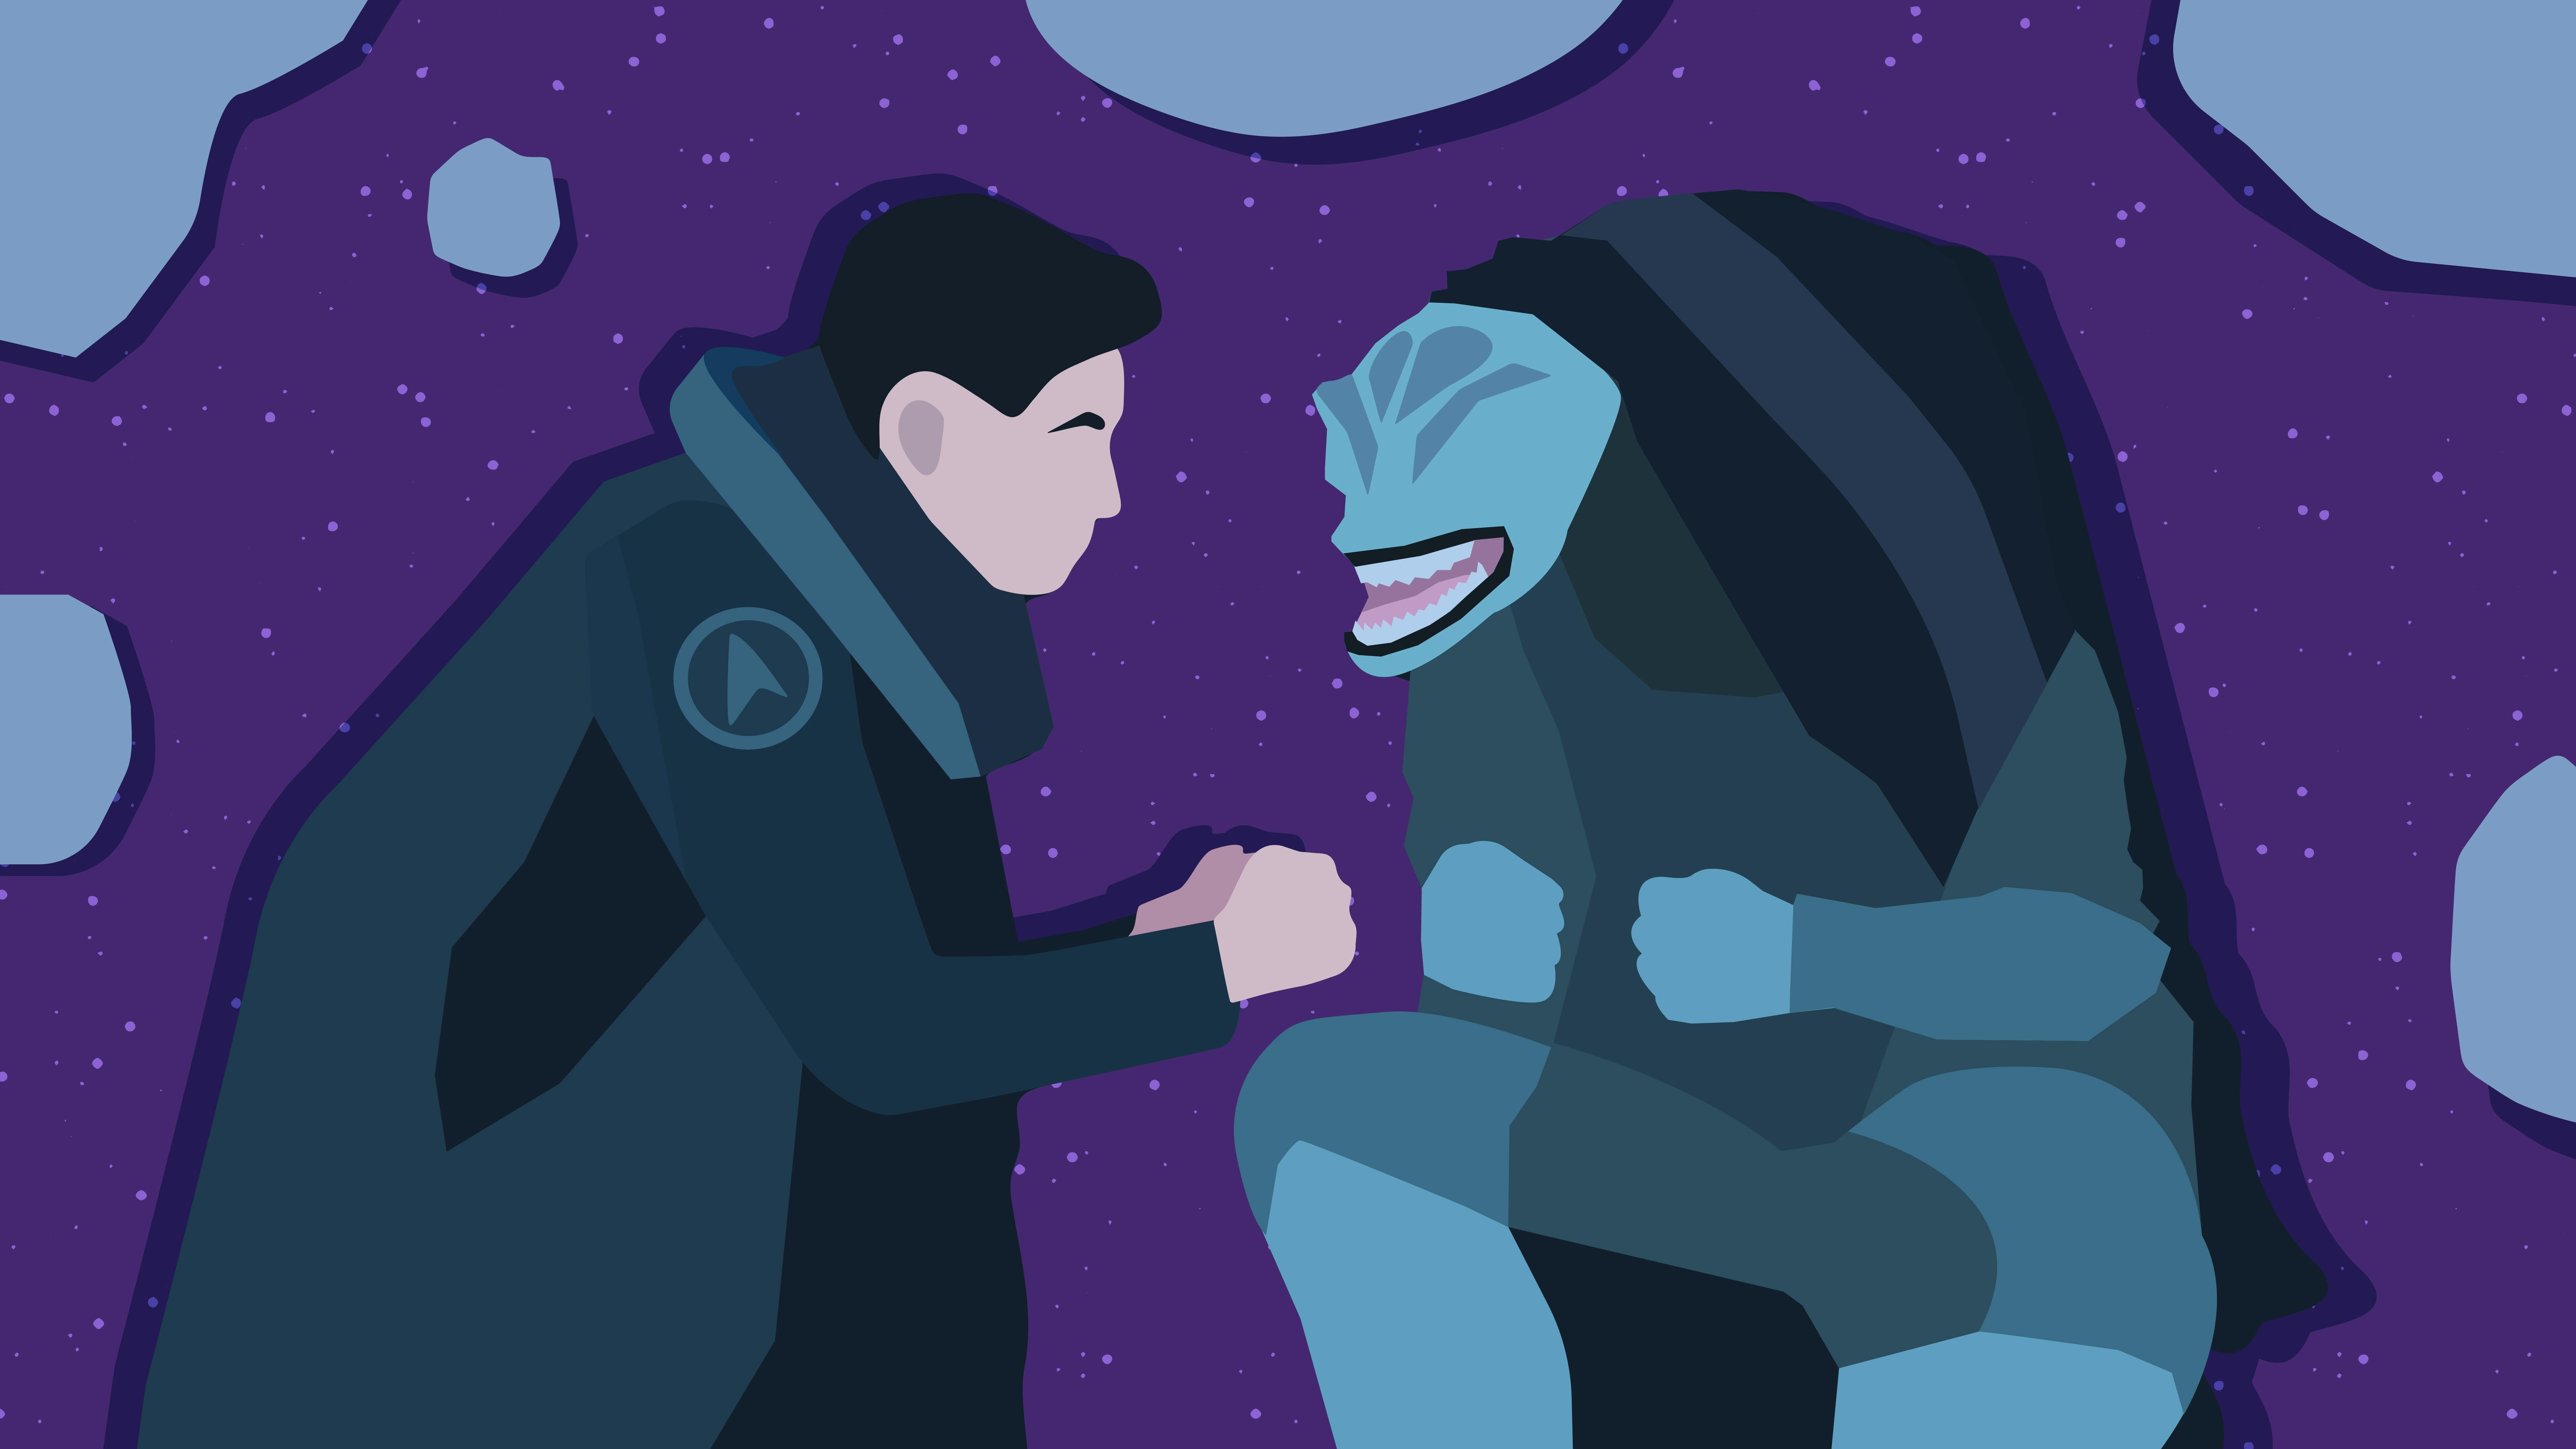
, the Archivist Hy'Rell tells Burnham that record shows she's the first to come looking for the clue. As she pours the manuscript, Burnham's consciousness has been transported into a mindscape where an archivist avatar takes on the appearance of Book. His presence rattles her, forcing her to admit she wants to fix things but she doesn't know how. After passing the test, Avatar Book points her to the next clue's hiding spot, and offers her a hint about the final destination.
With Primarch Ruhn, Moll, and their Breen faction caught up, the Breen demands all the clues transported to them, or more deaths will be on the Federation's hands. Before transporting the clues, Burnham secures a scan of the map to their next location. The Discovery-A will evade and jump simultaneously, causing the Breen to believe they've been destroyed in the process.
Aboard the Breen Dreadnaught, following the assault on the Eternal Archive, Moll challenges Ruhn calling him out for his selfish actions. Before the primarch can harm her, Arisar steps in between them, as Moll takes his truncheon and disposes of him. She tells his soldiers that L'ak the Scion is the true emperor — long will he reign.
In the penultimate episode of Star Trek: Discovery, "," after Moll and the Breen capture a mysterious structure that contains the Progenitors' power, Captain Burnham must lead a covert mission to retrieve it before the Breen figure out how to use it.

StarTrek.com
- Saru
- T'Rina
- Rillak
- Michael Burnham
- Rayner
- Paul Stamets
- Adira Tal
- Cleveland "Book" Booker
- Gen Rhys
- Lorna Jemison
- Sylvia Tilly
- Dr. Hugh Culber
- Asha
- Linus
- William Christopher
- Moll (Malinne Ravel)
- Arisar

StarTrek.com
- Federation Headquarters
- U.S.S. Discovery-A
- Breen Dreadnaught

StarTrek.com
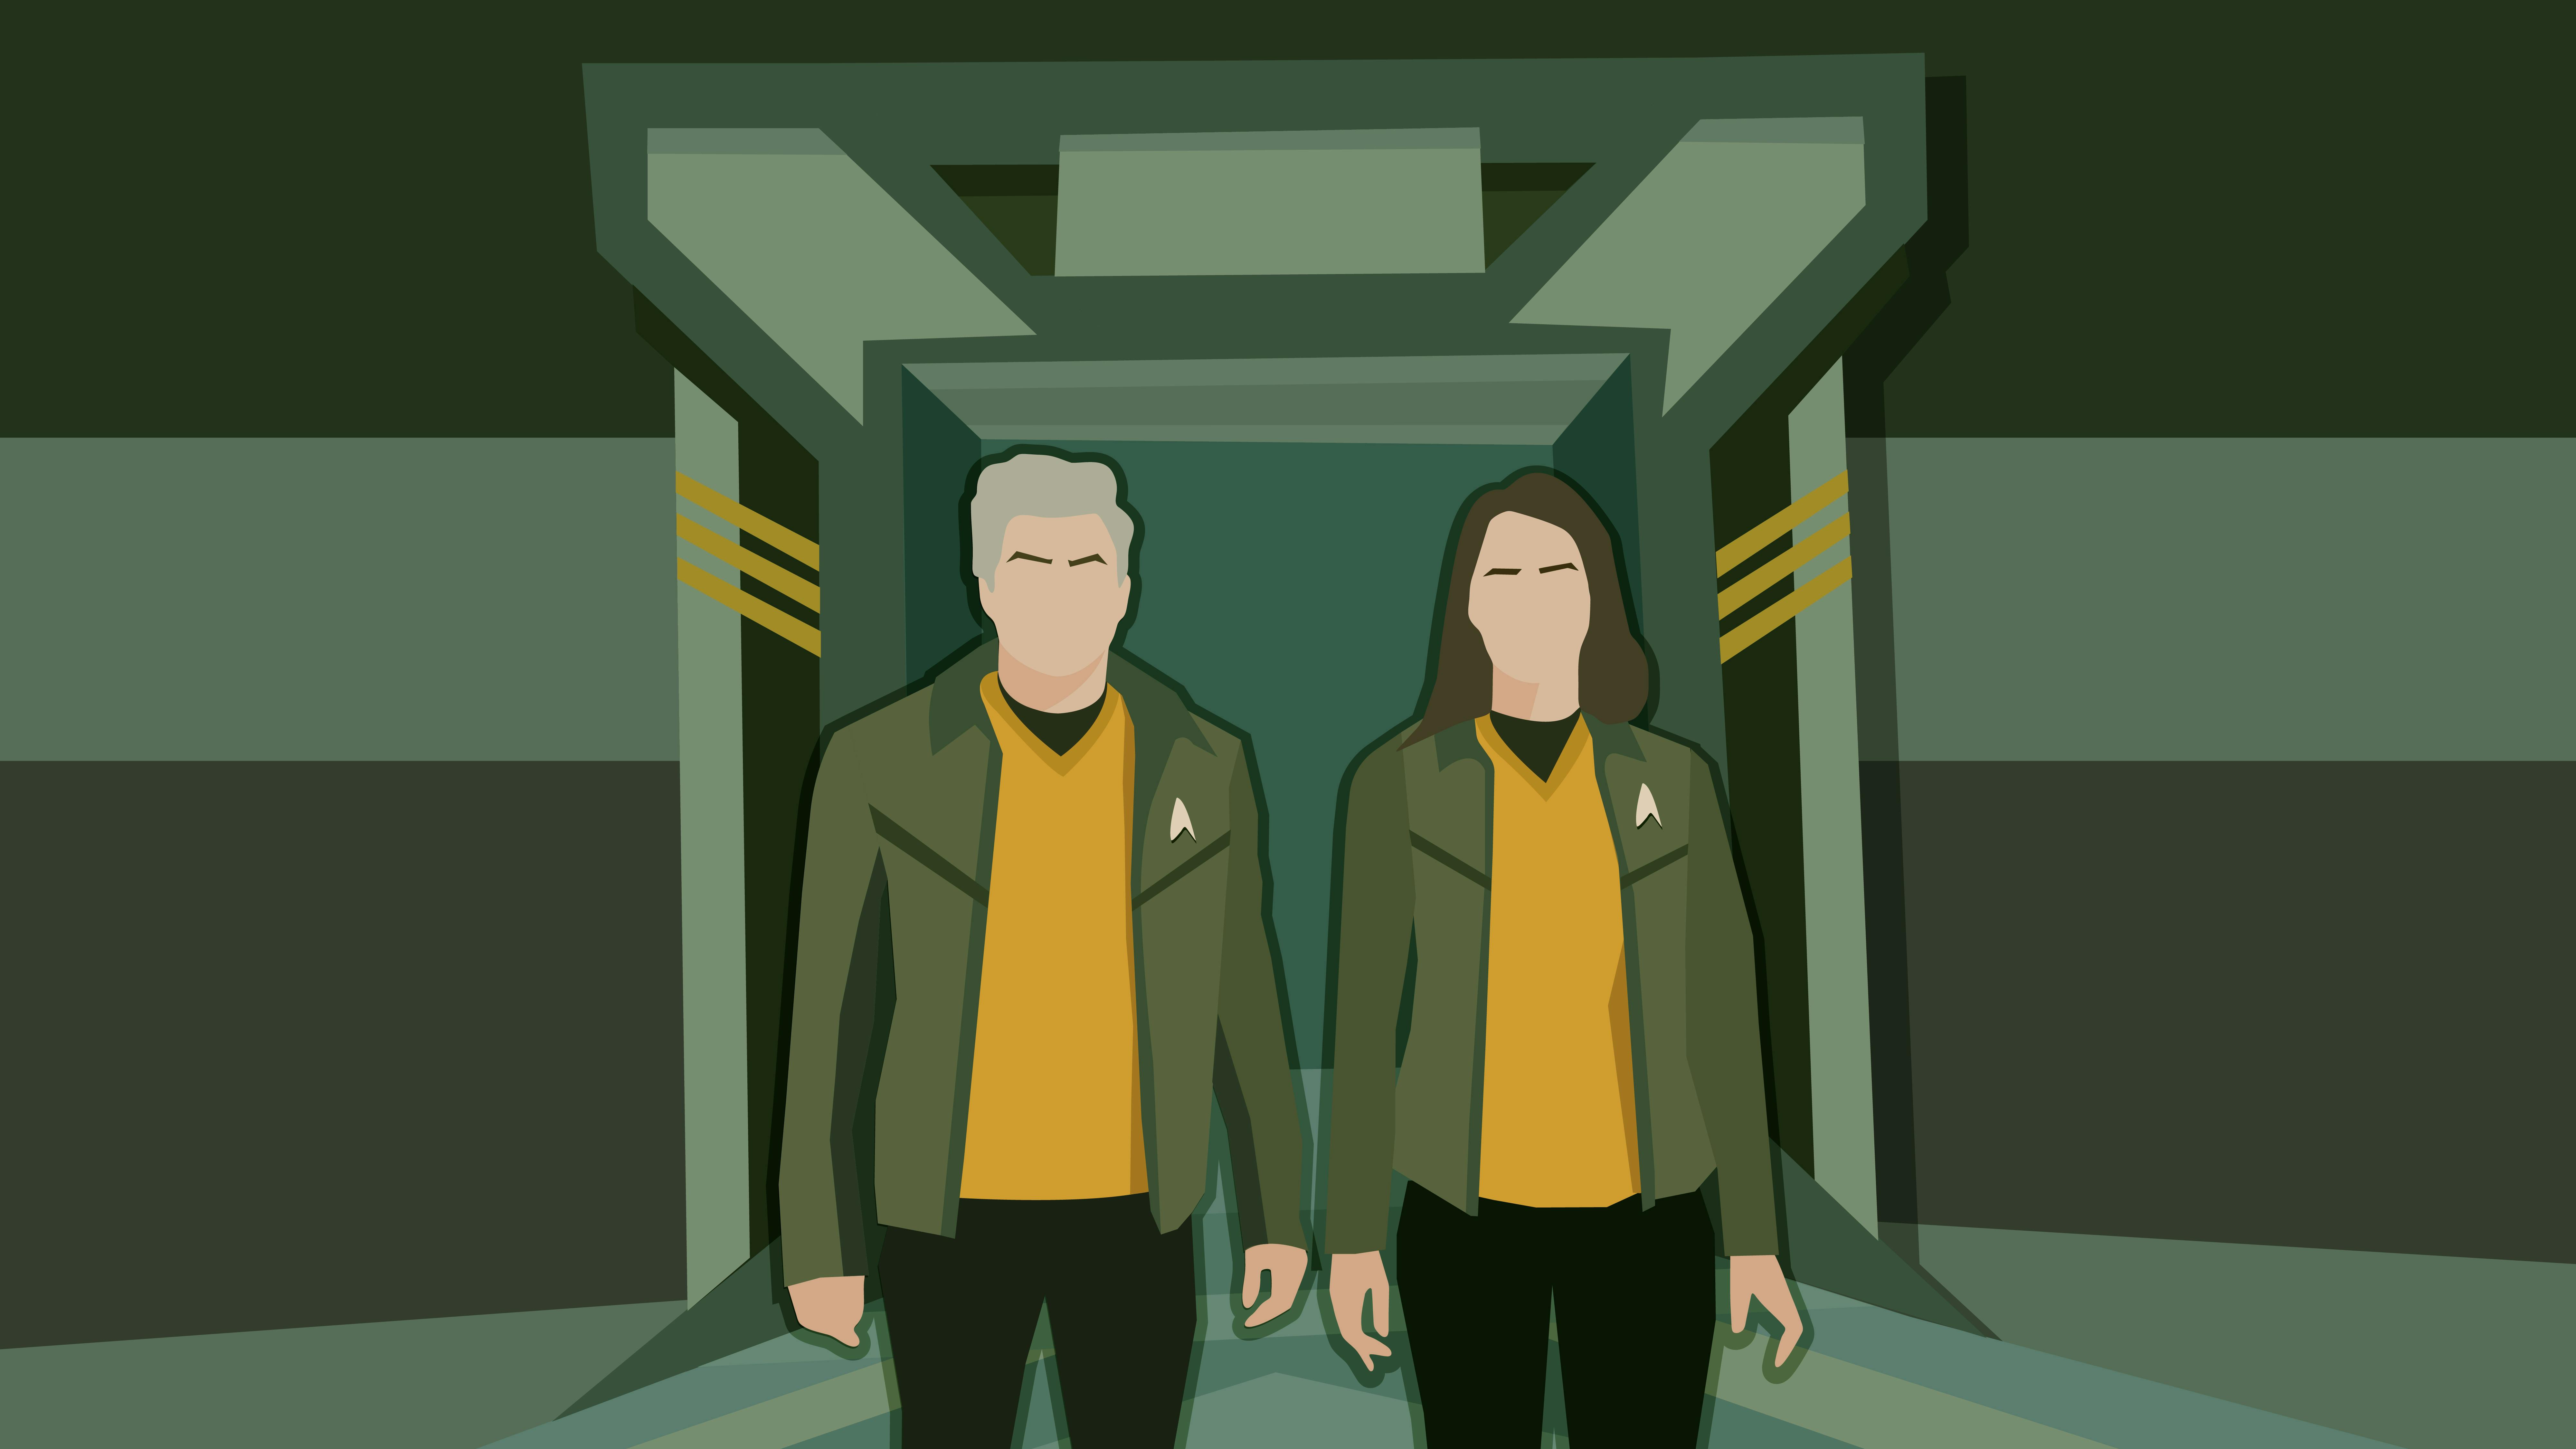
A flurry of activity greets Captain Saru as he beams into Federation Headquarters, and Ni'Var's President T'Rina also awaits him at the transporter pad. Overjoyed to be reunited, Saru presents his partner with a vibrant floral bouquet from Elpanah, a gift which the culture believes to be good luck for those with impending nuptials. The Kelpien notices concern in T'Rina's demeanor, and she relays that the U.S.S. Discovery-A came into conflict with a Breen vessel and sustained damage — but no casualties. The situation has become complex, and President Laira Rillak has convened an emergency meeting that requires their attendance.
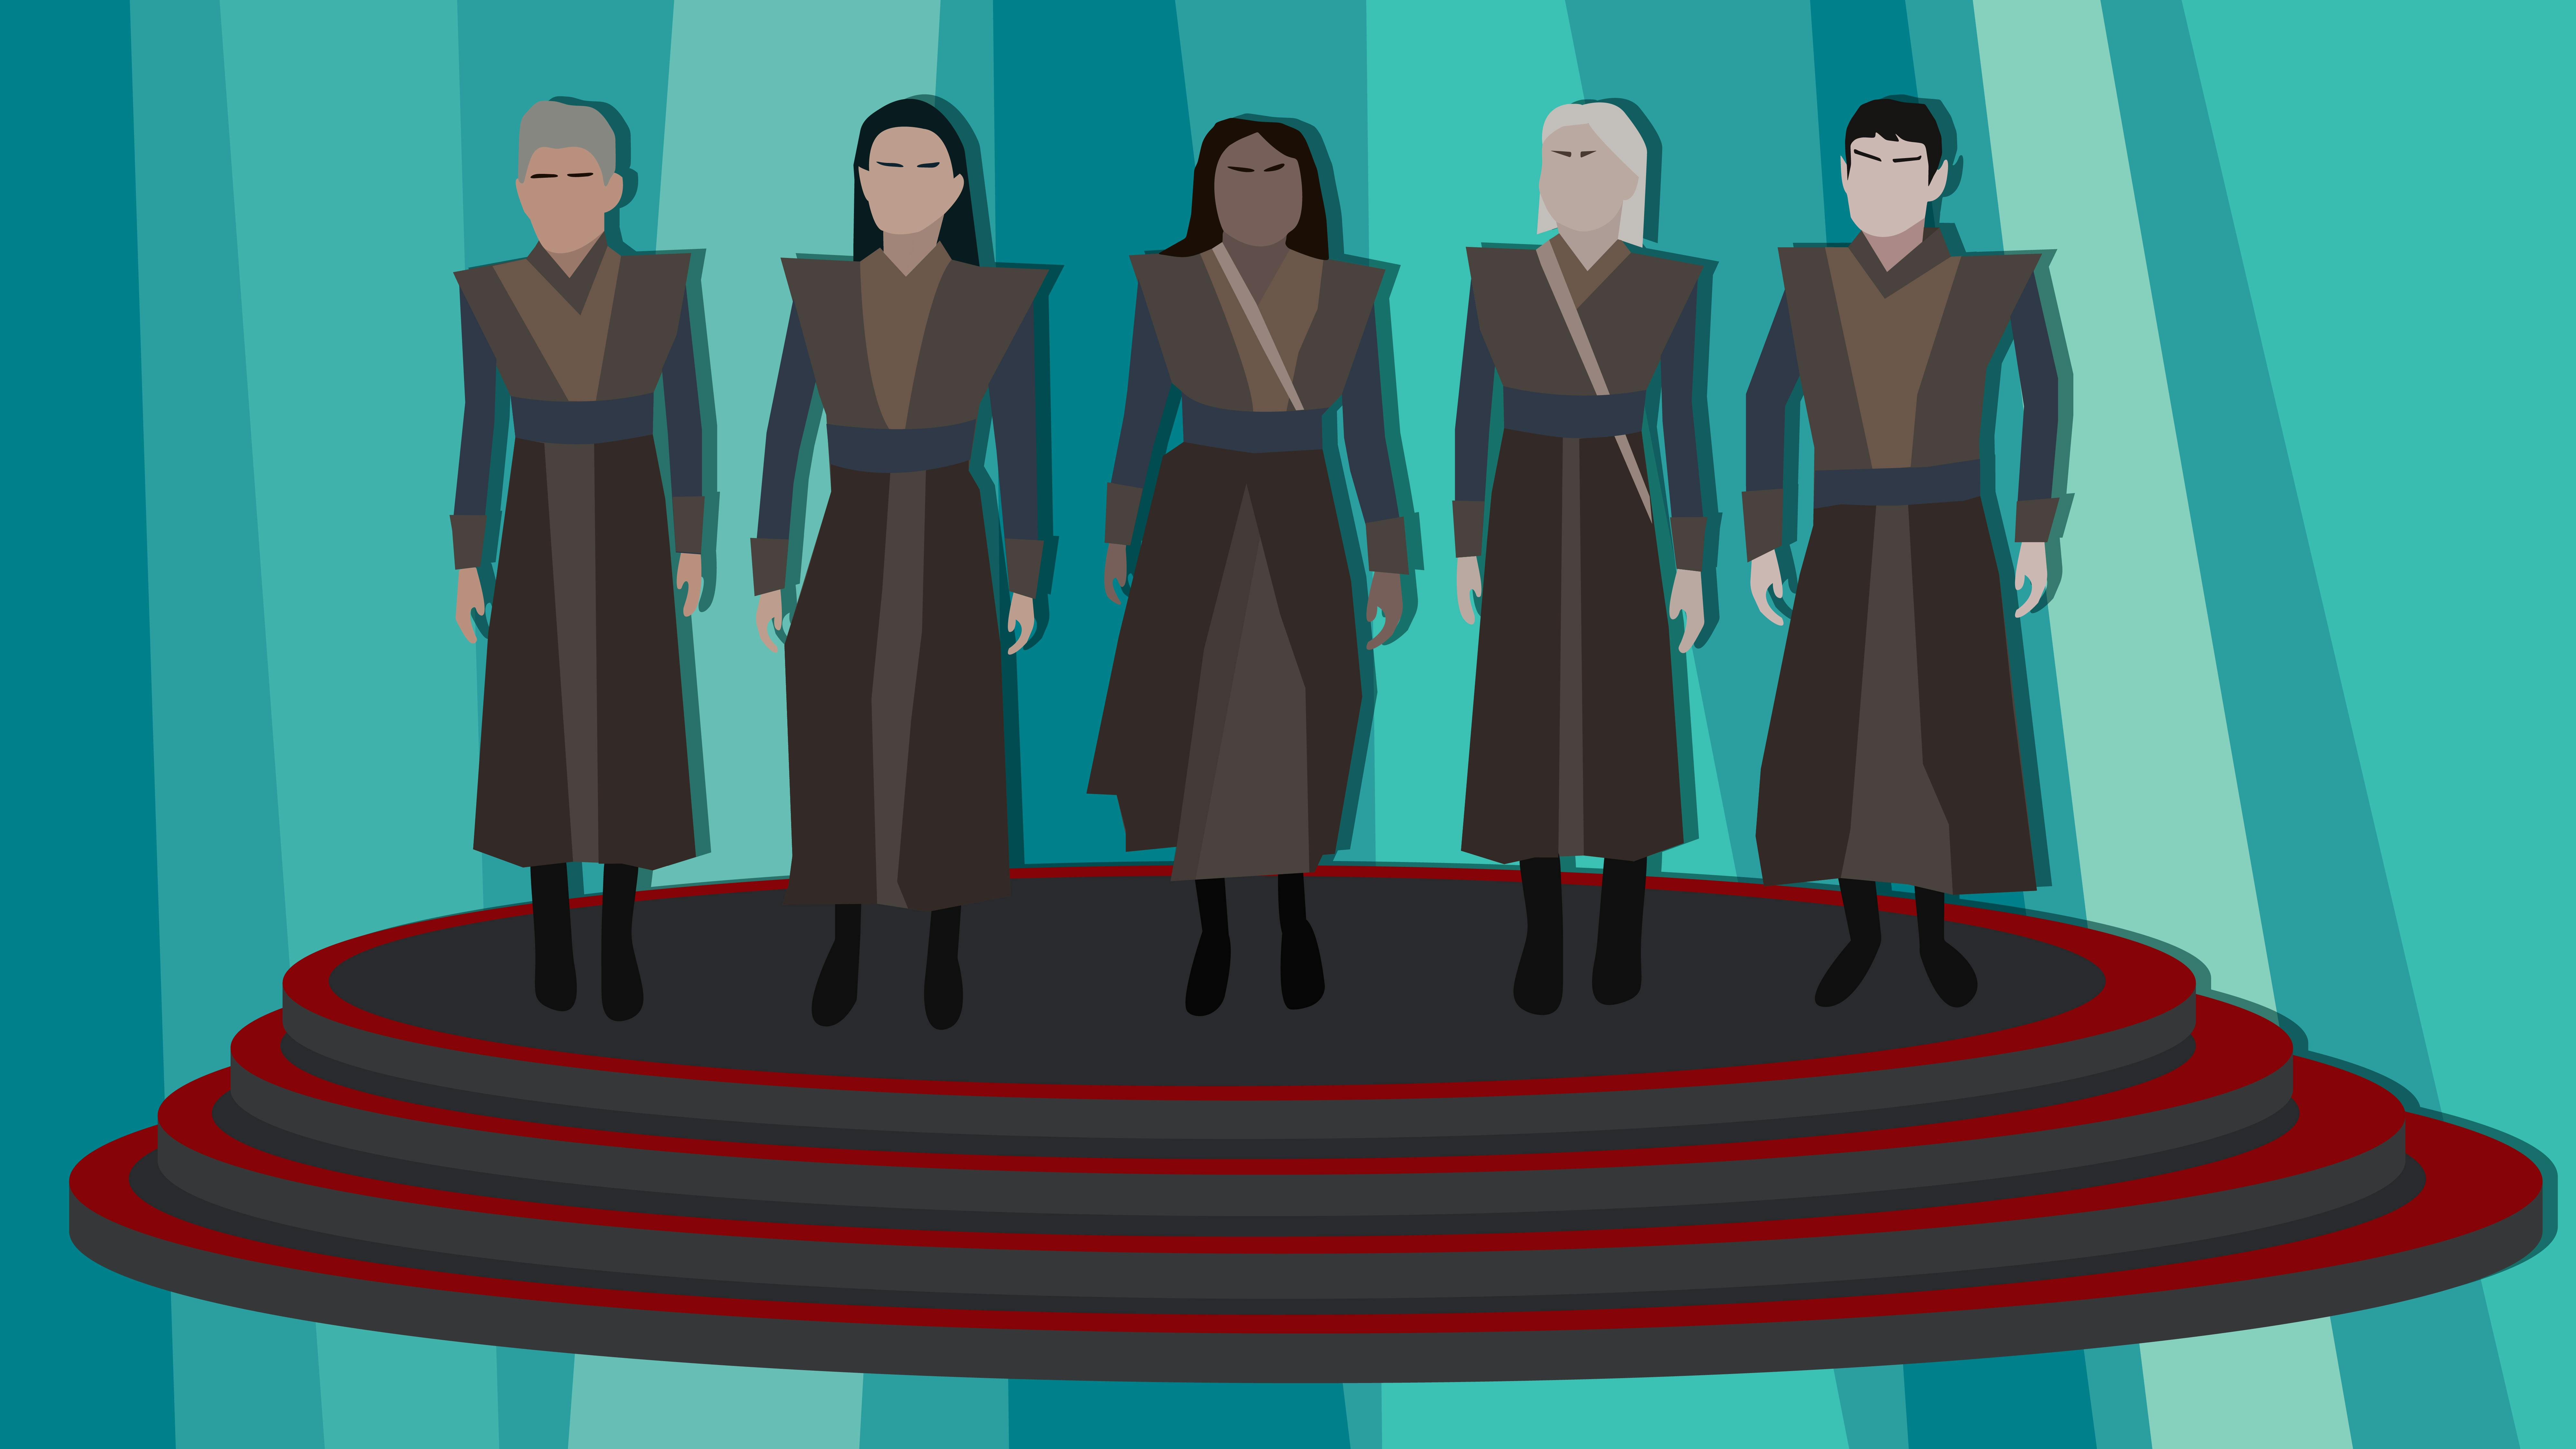
In Federation HQ's Briefing Room, President Rillak speaks to Saru, T'Rina, and other officials. She notes that Moll killed Primarch Ruhn, and the news has spread faster than they had anticipated. Within a matter of hours, the five remaining Breen Primarchs have become aware and smell blood in the water. Saru, who has just returned from planets near Breen space, believes this development could cause panic on those worlds. However, a more urgent matter requires their attention. T'Rina outlines an intelligence report indicating that Primarch Tahal intends to take Ruhn's soldiers in order to strengthen her bid for the throne of the Breen Imperium. Tahal has mobilized her fleet to pursue Ruhn's dreadnought, which is already en route to the location of the Progenitors' technology.

"Lagrange Point"
StarTrek.com
With Discovery-A also planning to converge on those coordinates once repairs are completed, the starship will need to secure the technology and jump away before Tahal appears on scene. If Tahal learns that the Federation is in search of the power of creation, she will want it for herself. The gravity of the situation sinks in, and Saru observes that the Discovery-A barely survived one dreadnought — facing Tahal's entire fleet would be impossible. President Rillak explains that Admiral Charles Vance is assembling every Starfleet ship in the sector, but most won't make it in time. An audible alert sounds, and a nearby communications officer informs those gathered that Moll's dreadnought just exited a transwarp tunnel and has picked up time. They'll reach the Progenitors' tech within 15 minutes.
His tone regretful, Saru communicates this update to Captain Michael Burnham as she traverses the Discovery-A's battle-damaged corridors. Saru trusts that the captain will find a way to succeed and promises to do everything he can to prevent Tahal's fleet from joining the conflict. Grateful for the reassurance, Burnham tells the Kelpien that repairs are nearly complete and the ship will be on its way soon. The captain smiles, vowing she will stay safe so that she can attend Saru's wedding when this is all over. The comms channel closes, and Burnham finds Commander Rayner at a fluctuating terminal. Bracing for the Kellerun officer's reaction, she reveals that Primarch Tahal might be on her way. Rayner's gaze hardens, but he quickly shifts back to his duties and reports that basic power and auxiliary systems are back online. The lighting fluctuates and returns to full illumination. The left nacelle is fully functional, the right nacelle is almost there, and the shields are in progress. But the spore drive is a different story…
"Lagrange Point"
StarTrek.com
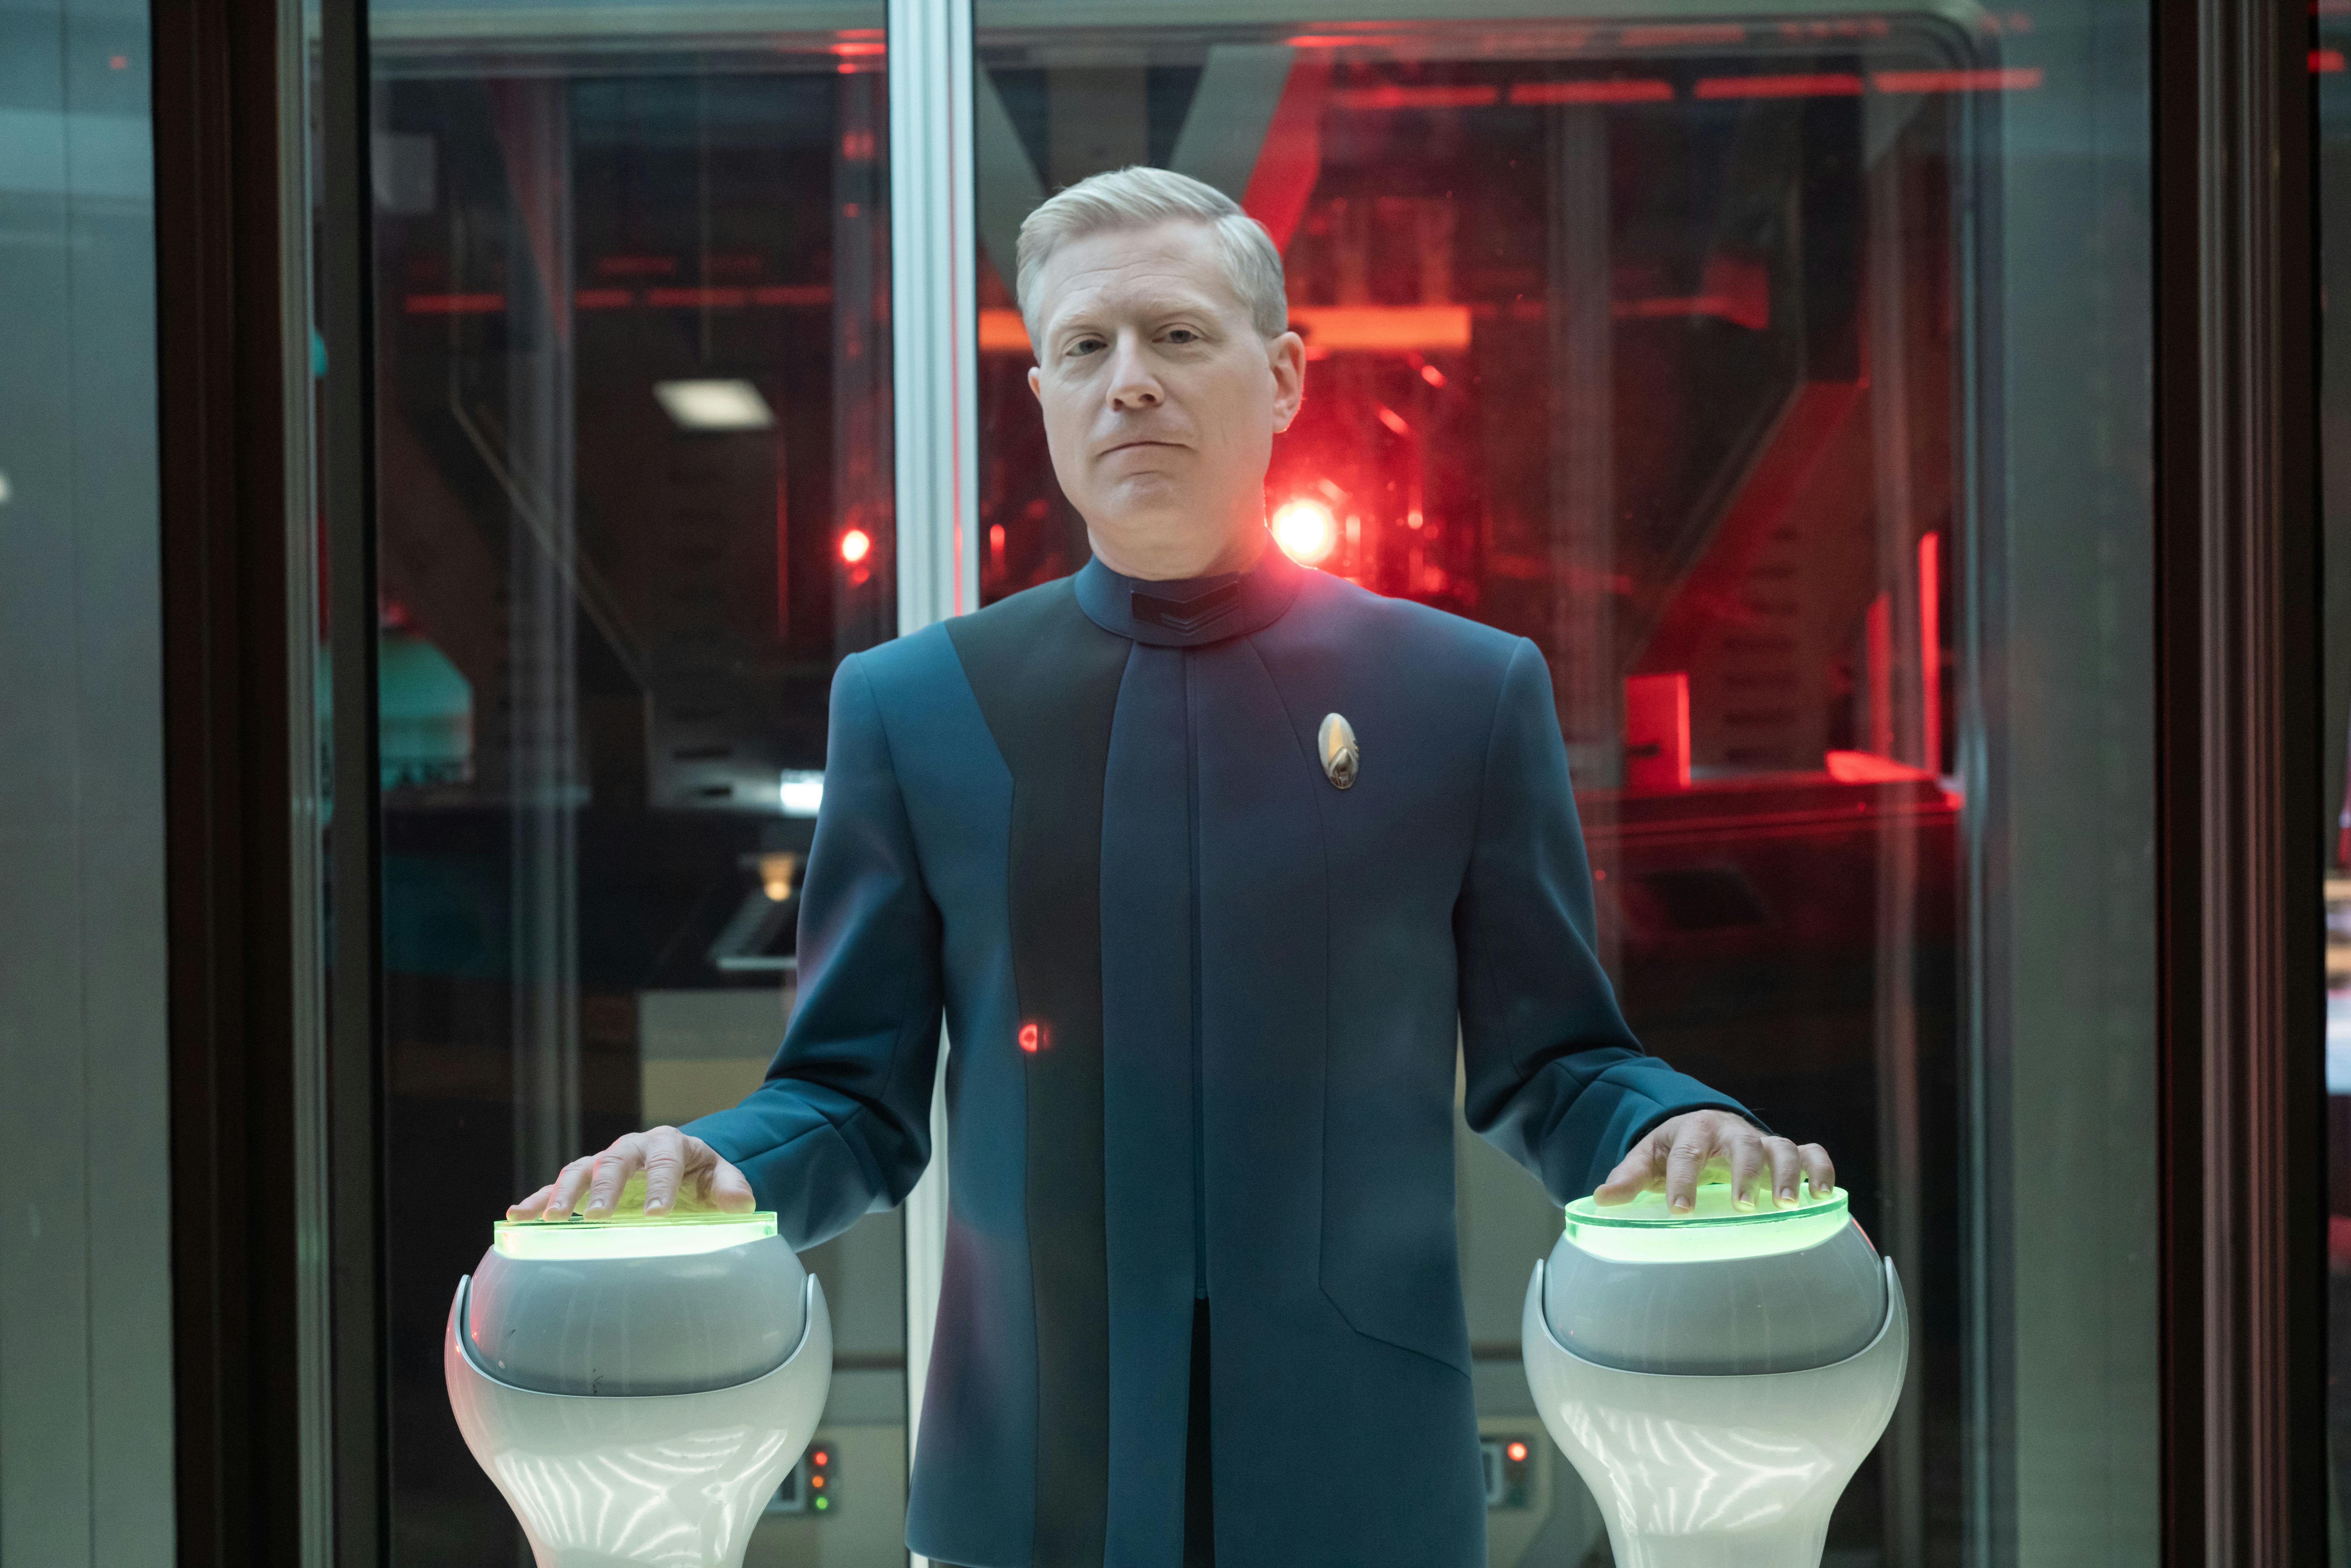
Burnham and Rayner gather in Engineering with Commander Paul Stamets, Ensign Adira Tal, and Cleveland "Book" Booker. While they can jump, Stamets can not guarantee that they’ll land precisely where they intend to. Burnham is curious — how "not precisely are we talking?" Adira chimes in to mention that the nav system was damaged during Ruhn's attack. The captain also questions why Book, who is working at an open panel on the floor, is helping rather than recuperating in Sickbay. The former courier pledges that Dr. Hugh Culber patched him up and he couldn't just sit around relaxing. Burnham offers a slight grin, but her expression is tempered by concern. Although they had improved the margin of error considerably, Stamets would feel more confident in their landing accuracy if they could have another hour and a half. Rayner shuts the idea down. They need to jump right now.
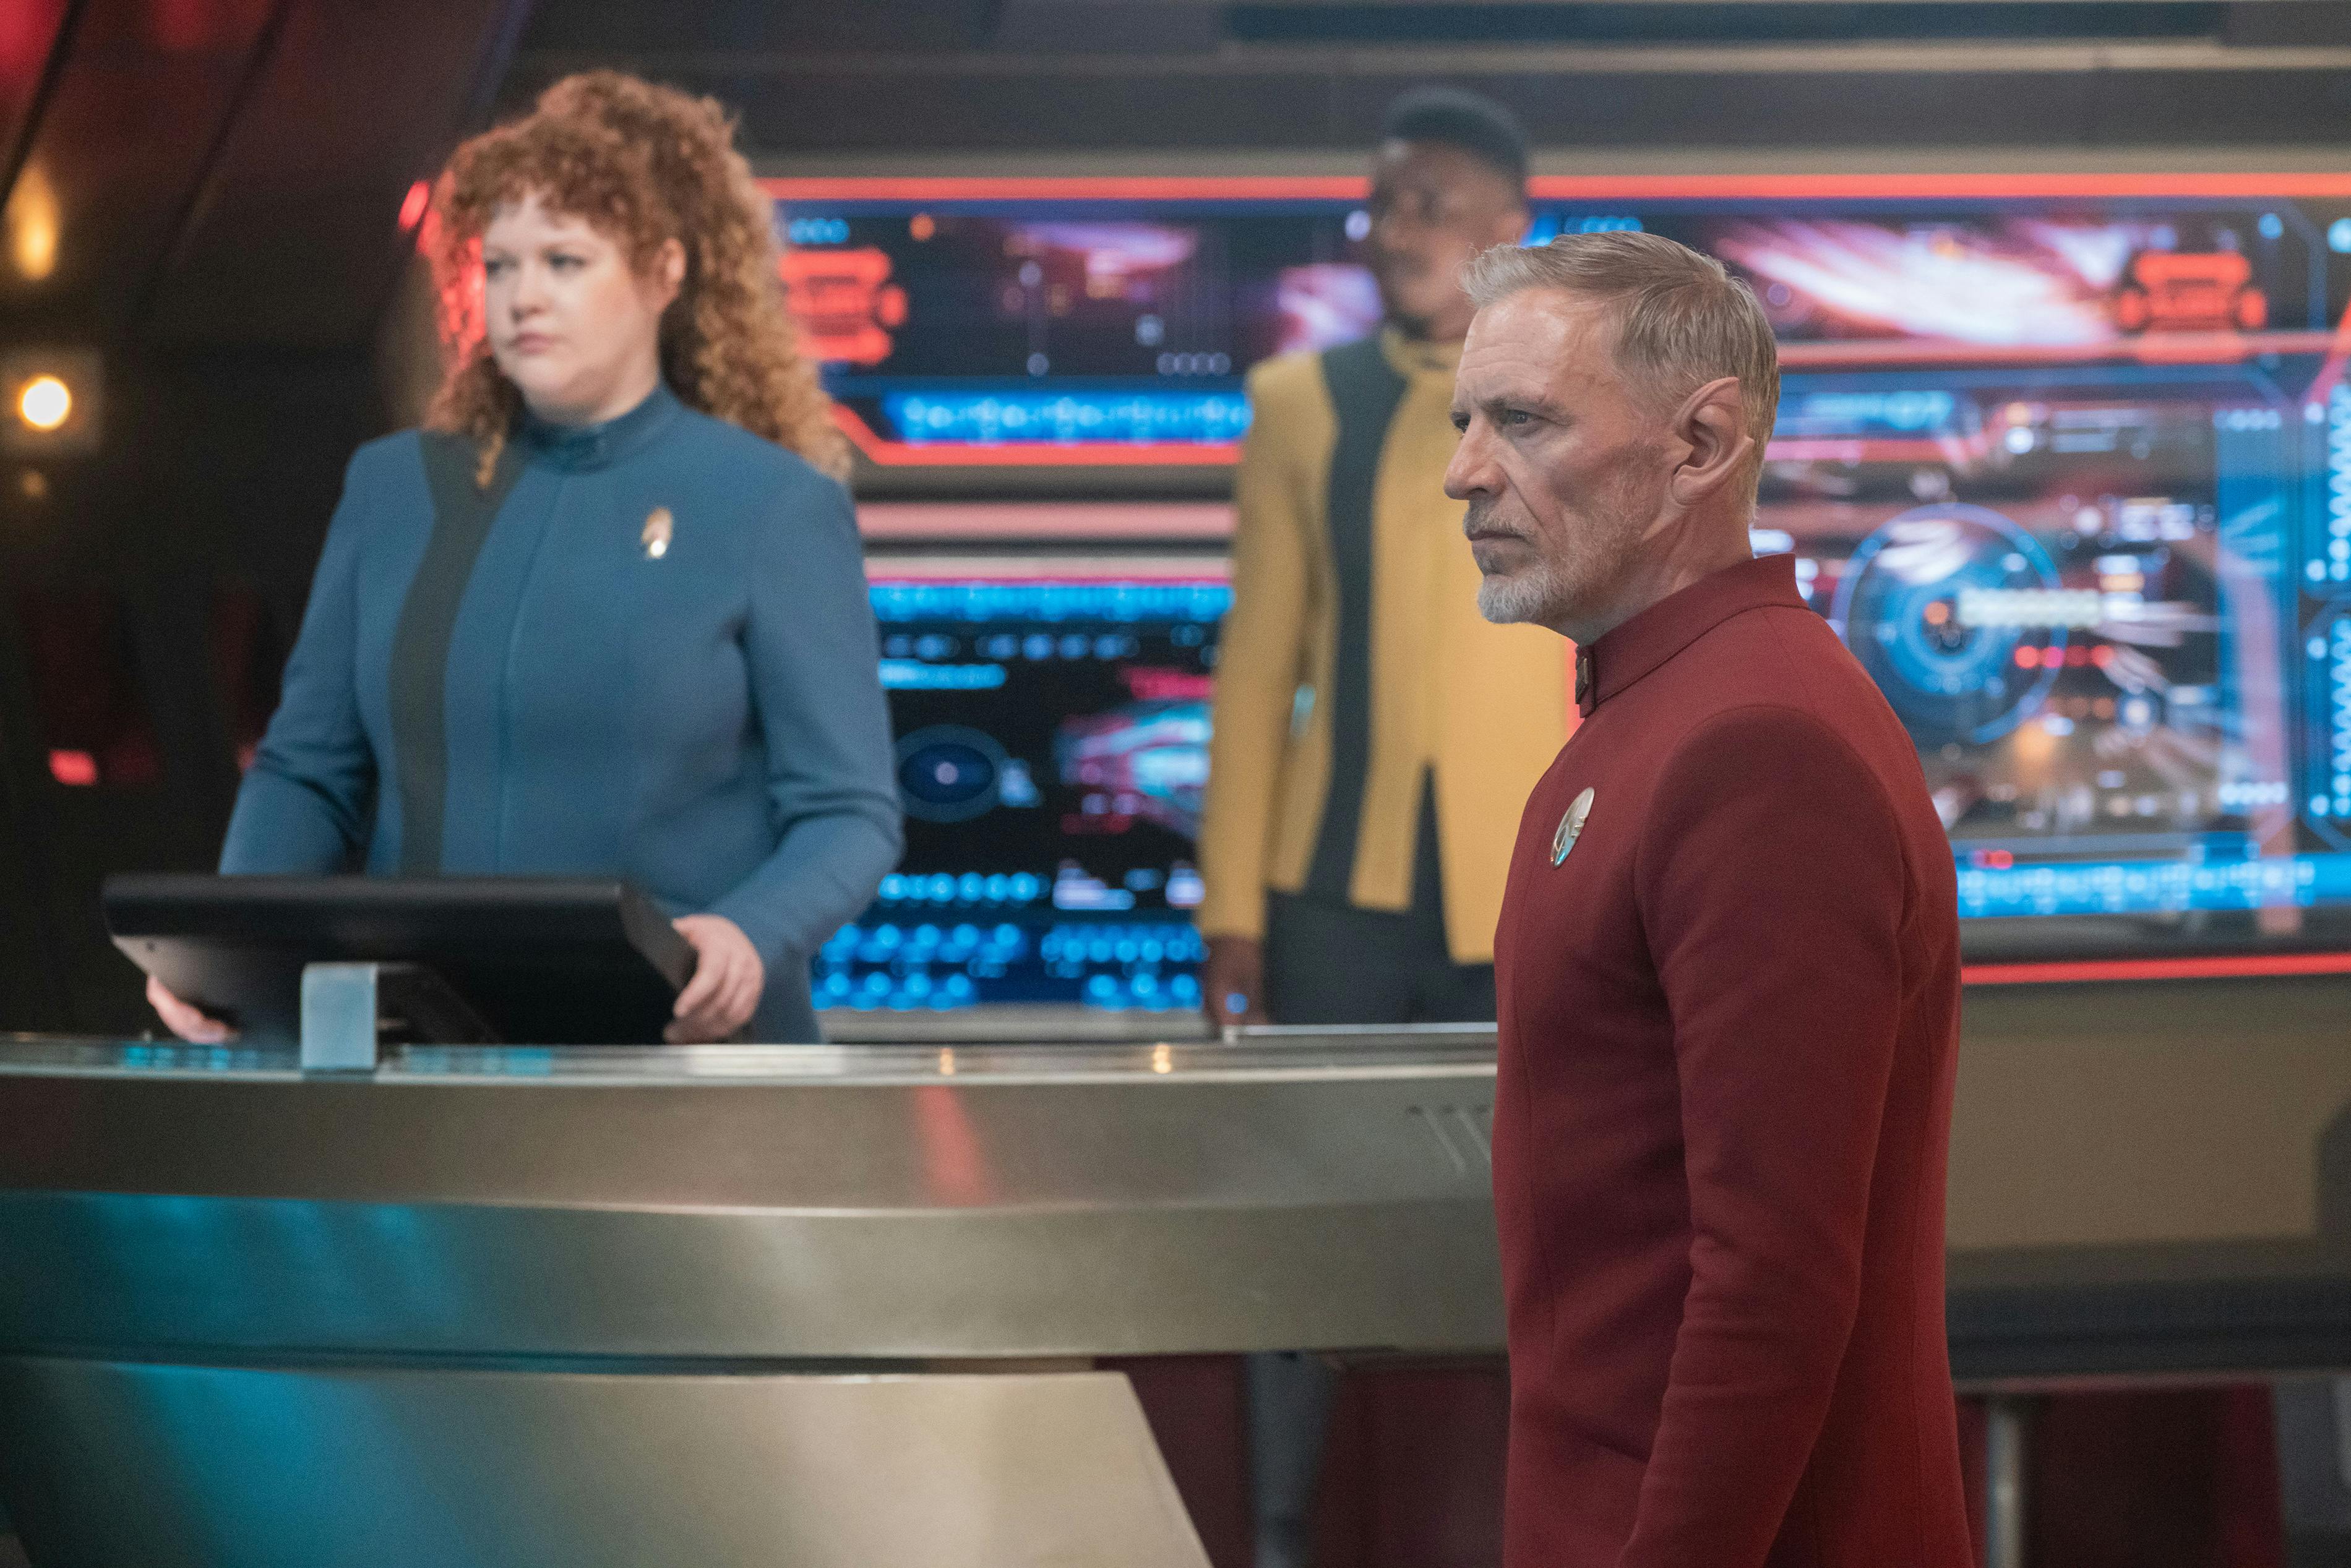
The captain and first officer beam to the Bridge, where Lieutenant Commander Gen Rhys currently occupies the center seat. Seated at the conn, Lieutenant Commander Asha confirms that coordinates are set, while Lieutenant Sylvia Tilly's long-range scans are unclear. However, Tilly advises caution, as their destination is in an area of gravitational turbulence. Captain Burnham addresses the entire ship, warning her crew to expect a hard landing and the possibility that the Breen may already be on site. Commander Lorna Jemison engages at the ops station, and Burnham orders the jump.
"Lagrange Point"
StarTrek.com
As it makes the leap, the ship shakes in an uncontrollable fashion. Burnham initiates a Red Alert, and Stamets shares that he got them as close as he could to their target. The brilliant curves of gravity distortions occupy the viewscreen, indicating to Tilly that the vessel landed in the accretion disk of a black hole. Asha and Jemison concentrate on the ship's escape, but they will need more power to get out of the phenomenon. In Engineering, Stamets has Adira open the plasma injectors as Book moves to override the tolerance limiter. The astromycologist notifies Burnham that he's given her all the power has unless she'd like to pull from the cloak, but Rayner is adamant that it’s not worth the risk.
Asha is surprised by the gravitational pull's strength, at least until Tilly pronounces that there are two black holes — it's a binary system. Intrigued by the fact that they are primordial black holes, Tilly returns to the task at hand and suggests they move closer to the other black hole so that the ship can use its gravity to pull them away. Asha complies, and the gravitational shear places a strain on the Discovery-A that rattles the Bridge. After a brief struggle, the vessel launches itself clear of the black holes. Sighs of relief envelop the room, and Jemison promises Asha that the drinks are on her tonight. Asha jokes that it's tonight somewhere and there's no need to wait.
There are no signs of Moll's Breen Dreadnaught, but they can't be far behind. Tilly rechecks her scans, which now show their target to be within the Lagrange Point of the two black holes. The Progenitors' tech has been in gravitational equilibrium since they placed them there, and considering the black holes predate everything else in the galaxy, they have been there for an incredibly long time. The Progenitors' bounty doesn't register on sensors, but filtering out environmental debris narrows their target down to a cylindrical container that is composed of a duranium alloy which is impenetrable to scans. About the size of a small shuttle, the casing was built approximately 800 years ago — the same time the clue trail was laid. The scientists must have constructed it to hide the Progenitors' technology until the worthy seeker arrived.
"Lagrange Point"
StarTrek.com
The Discovery-A’s urgency to get the structure on board is amplified by an incoming warp signature — Ruhn's Dreadnaught! Unable to intercept the vessel or stop its tractor beam in time, Captain Burnham can only watch as the container is pulled into the Breen’s cavernous shuttlebay. Deflated glances abound, but Burnham demonstrates confidence in their ability to retrieve the technology. She relocates to her Ready Room, where — along with Tilly, Adira, Book, Stamets, and Rayner — they assess a holographic scan of their target. It is being held in the Breen shuttlebay, it's likely it won't take Moll long to open it. Tilly references a small opening or access point on the container, and Rayner deduces that it's a keyhole for the map of clues they gathered. Although Moll has the key, Burnham shares that she was told that there is another obstacle inside of the structure when she was in the mindscape. The captain was also given information about how to beat it — "Build the shape of the one between the many." While cryptic, Burnham trusts that the phrase will make sense when it needs to.
Book weighs in with his opinion, crediting the Discovery-A with another advantage — Moll thinks they’re dead. Stamets presents a limited set of options, divulging that they'll need to take down the Breen's shields in order to beam the structure out. They’d also need to be in extremely close proximity to secure a successful lock. Inspired by the astromycologist’s reasoning, Adira proposes they utilize a transpo-lock. When Adira was in the United Earth Defense Force, they often employed such devices to get around interference near Mars. By attaching it to the structure, they could lock on and beam it out instantly once the shields are down. Stamets radiates pride in Adira's work, but Rayner emphasizes the problem of getting themselves on board the Dreadnaught.
Captain Burnham pauses for a moment before outlining her plan to accomplish that very feat. Scan data from their run-in with the Breen shows a gap in the dreadnought’s shield coverage at its exhaust port. They'll select two teams who can fly a shuttle in and beam aboard from there. Alpha Team will go to the Bridge, hack into systems, and standby to take down the Dreadnaught's shields. Bravo Team's target is the Shuttlebay, where they'll attach the transpo-lock onto the structure and beam back to Discovery once Alpha Team drops the shields. Slightly incredulous, Book describes the idea as insane.
Unperturbed, Burnham selects Book to pilot the shuttle, but Tilly highlights how difficult it is to crack the Breen's base-duodeca coding. Having analyzed the coding behind the Breen shield-tunneling technology, Adira enthusiastically volunteers to go on the mission. The request stuns Stamets, who rushes to propose that he can do the hacking — just not as fast as Adira. Nervous looks are exchanged among the group when Burnham asks Tilly if Adira can handle it, but the Starfleet Academy instructor agrees that Adira is up to the task. Burnham approves, placing Adira on Alpha Team and assigning Rhys as their security backup. The captain and Book will be on Bravo Team, and Rayner will have the conn. Tilly awkwardly accepts Rayner's invitation to be his acting first officer.
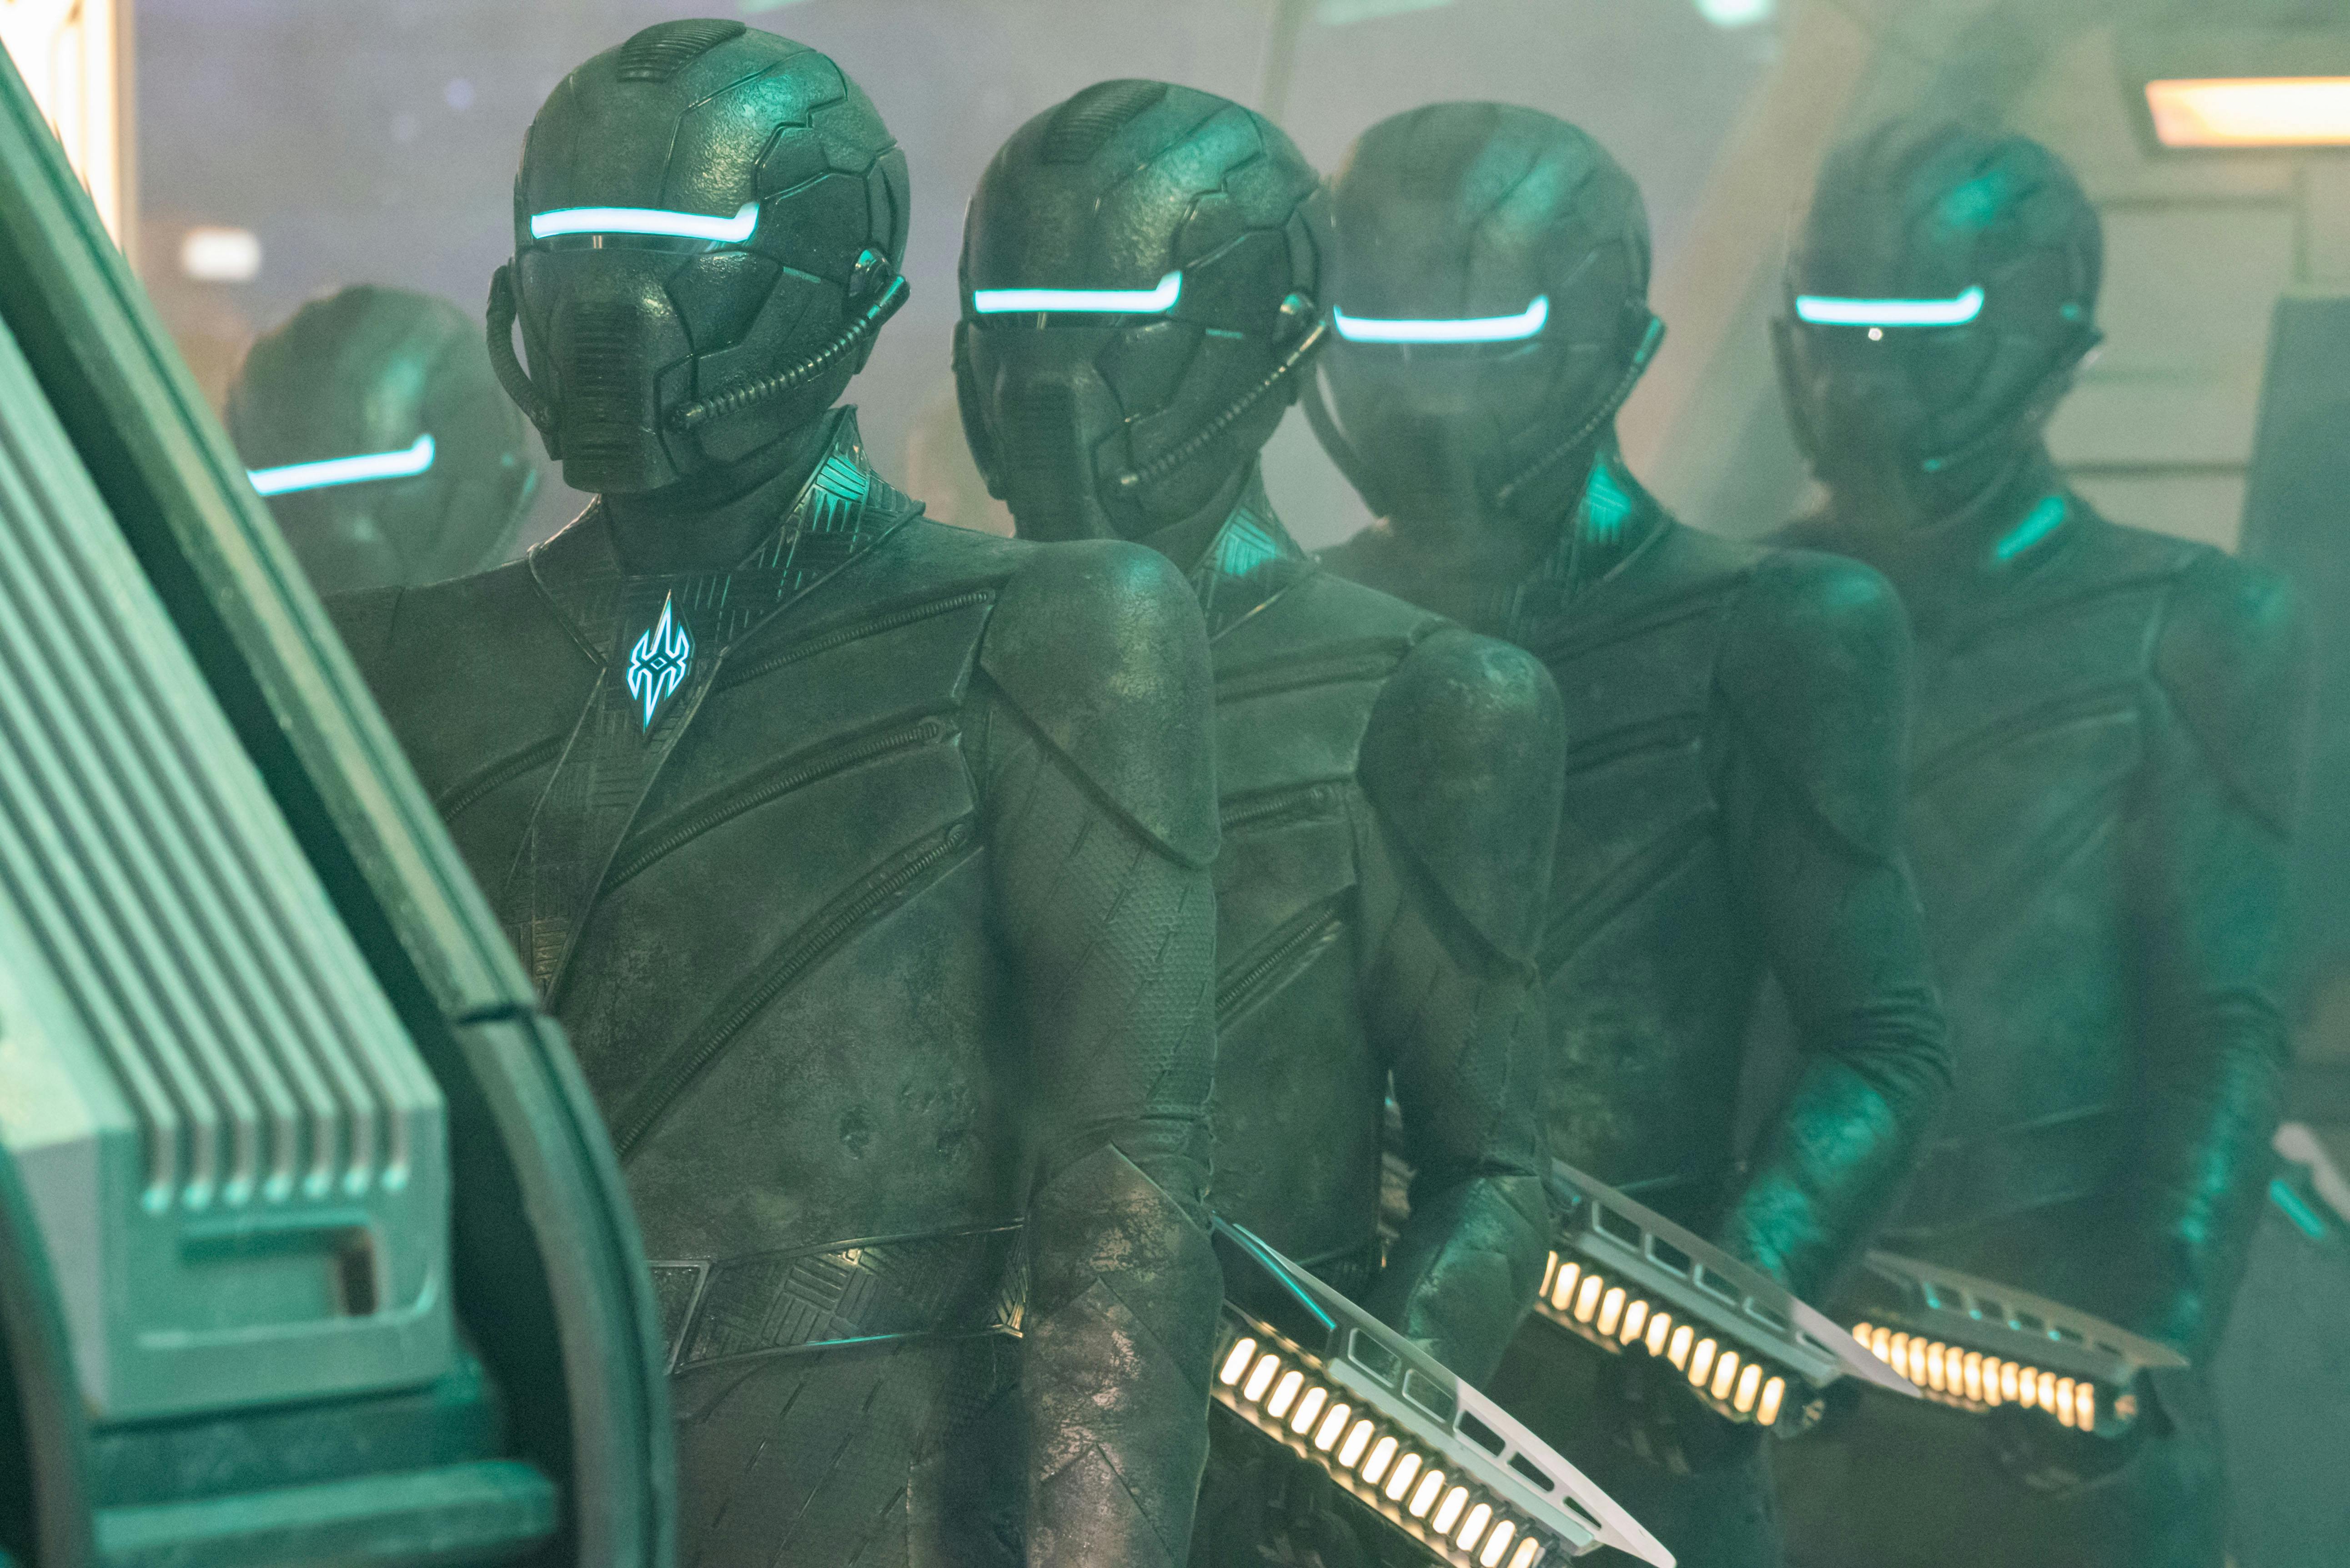
Book follows this exchange with an important question — how can they get around once they're on the Breen-infested Dreadnaught? Committed to hiding in plain sight, Burnham wants to use scans of soldiers from The Archive to let them replicate Breen suits. They'll simply need to add translation tech. Since Breen culture is rigidly hierarchical, looking the part and avoiding attention should allow them to go unchallenged. Book updates his assessment of the plan — it's still insane. Resolved to get the mission under way, Burnham mentions they'll leave in 10 minutes and ends the meeting.
"Lagrange Point"
StarTrek.com
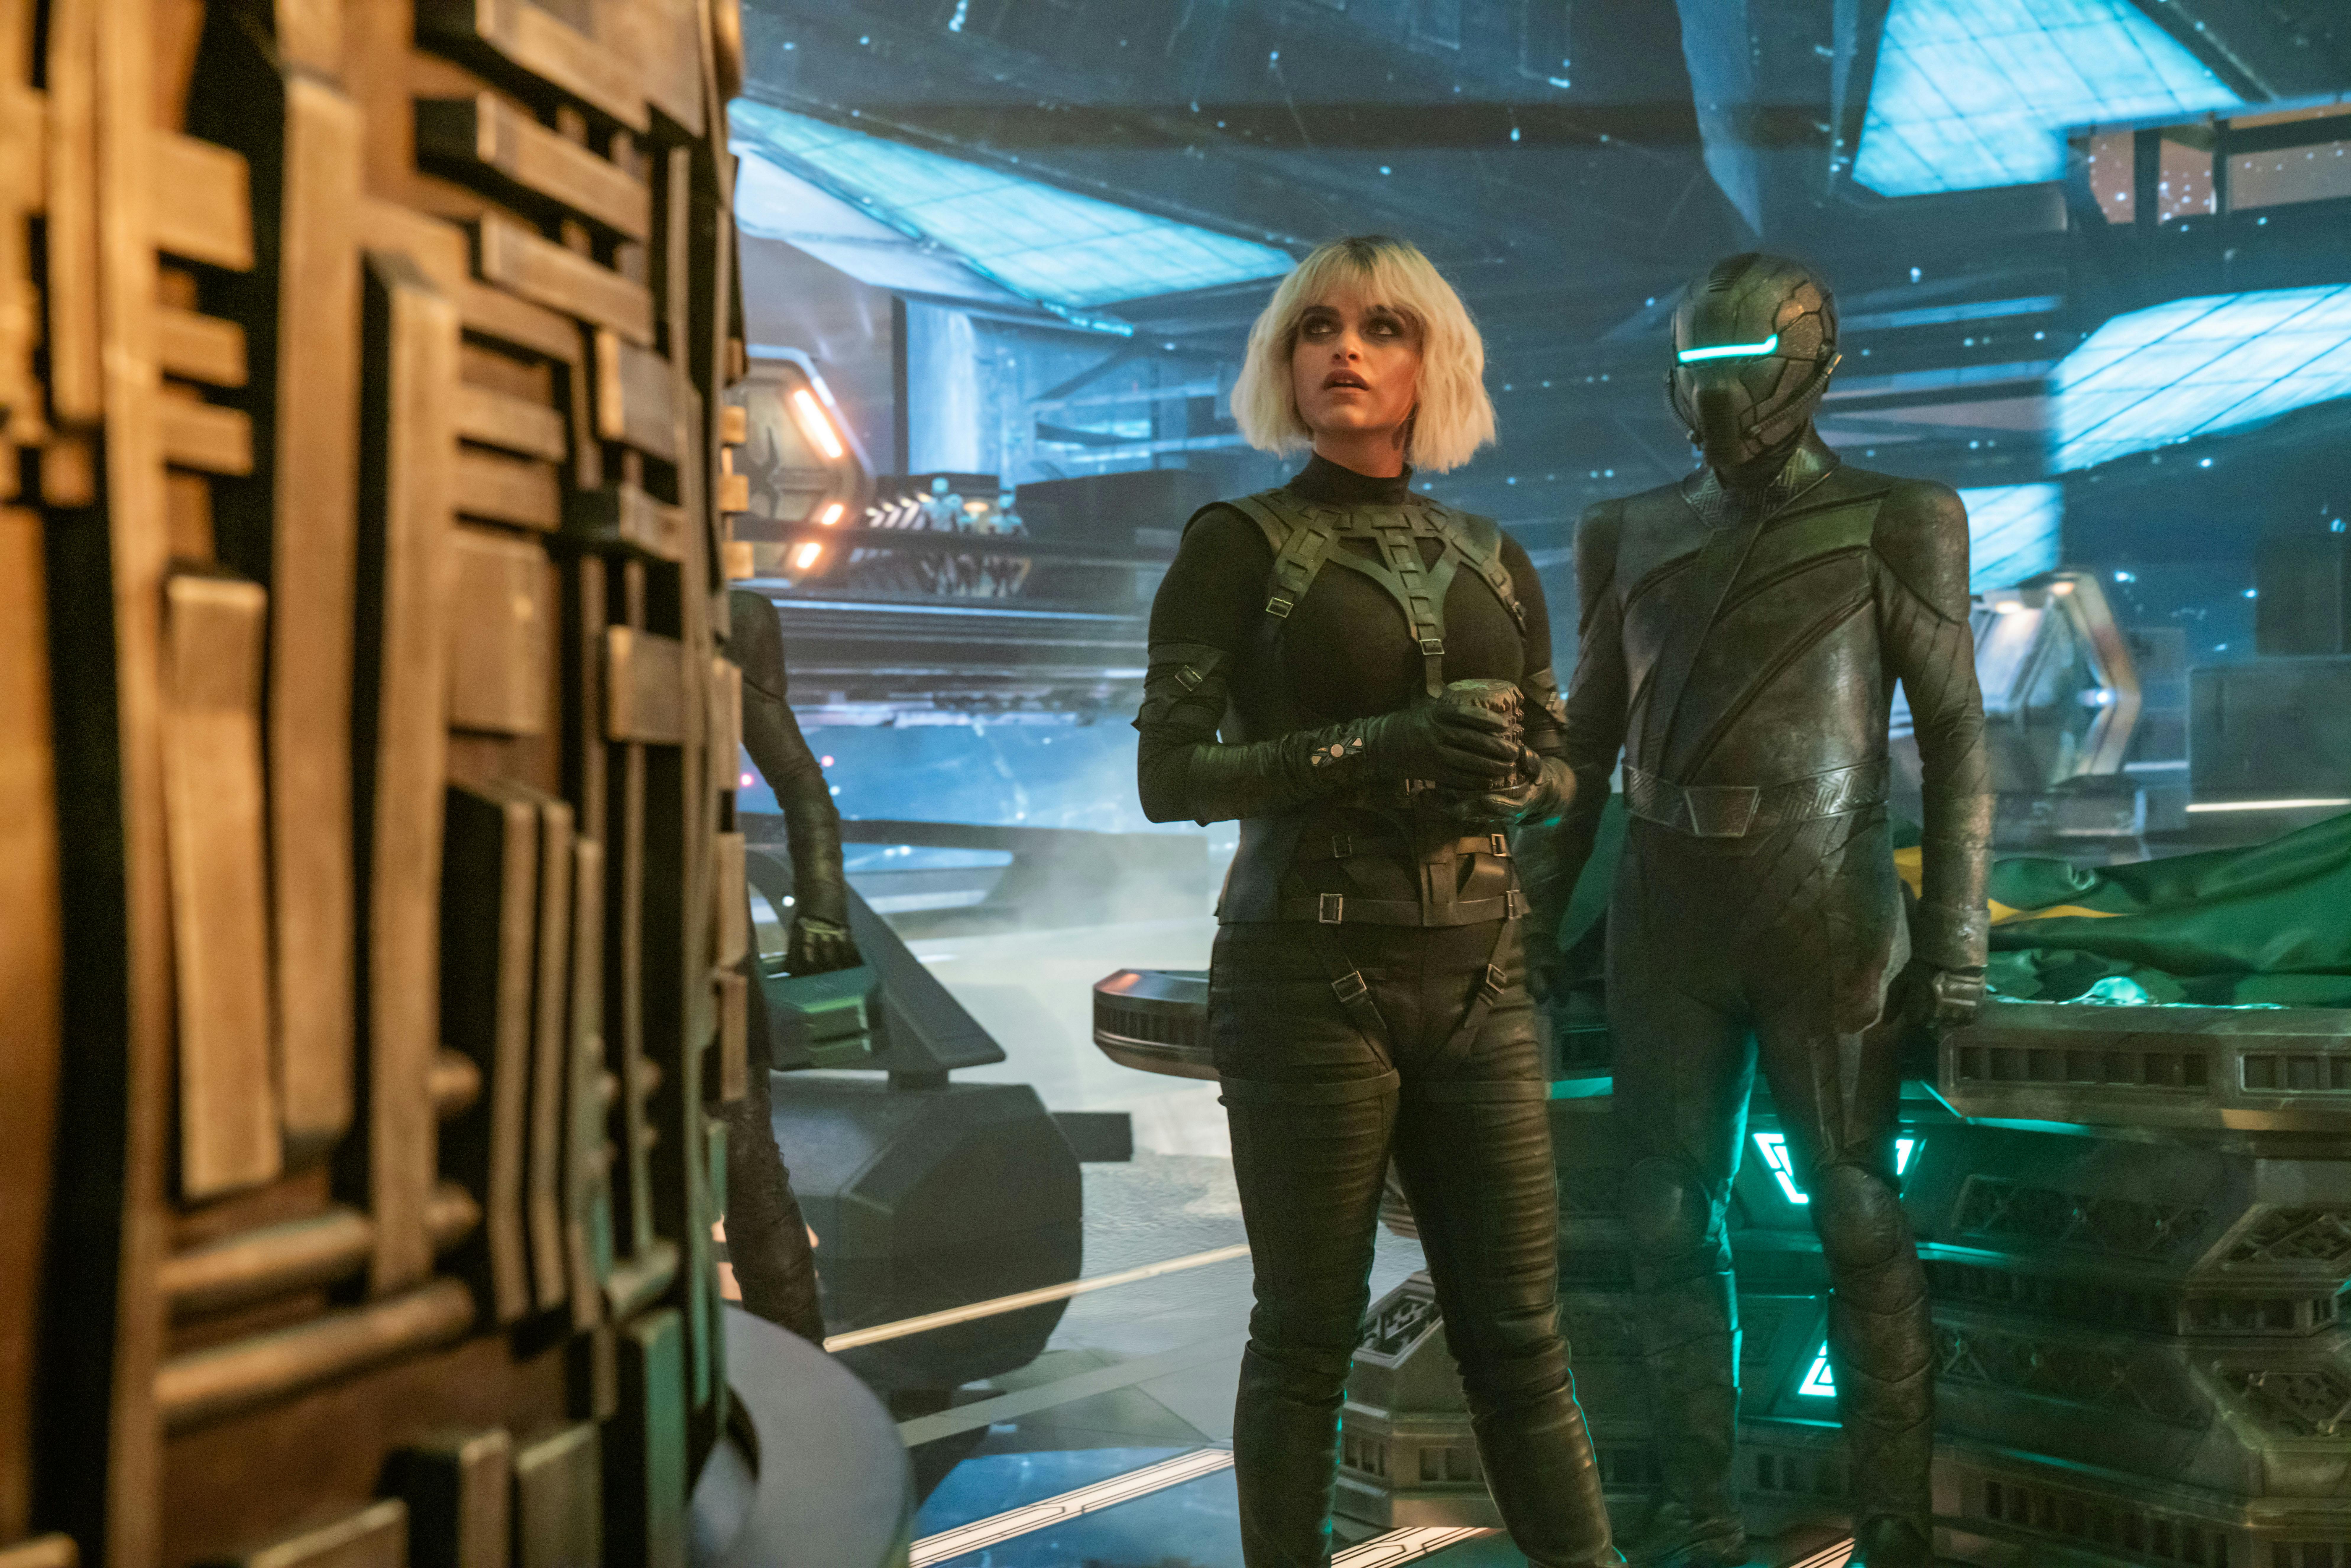
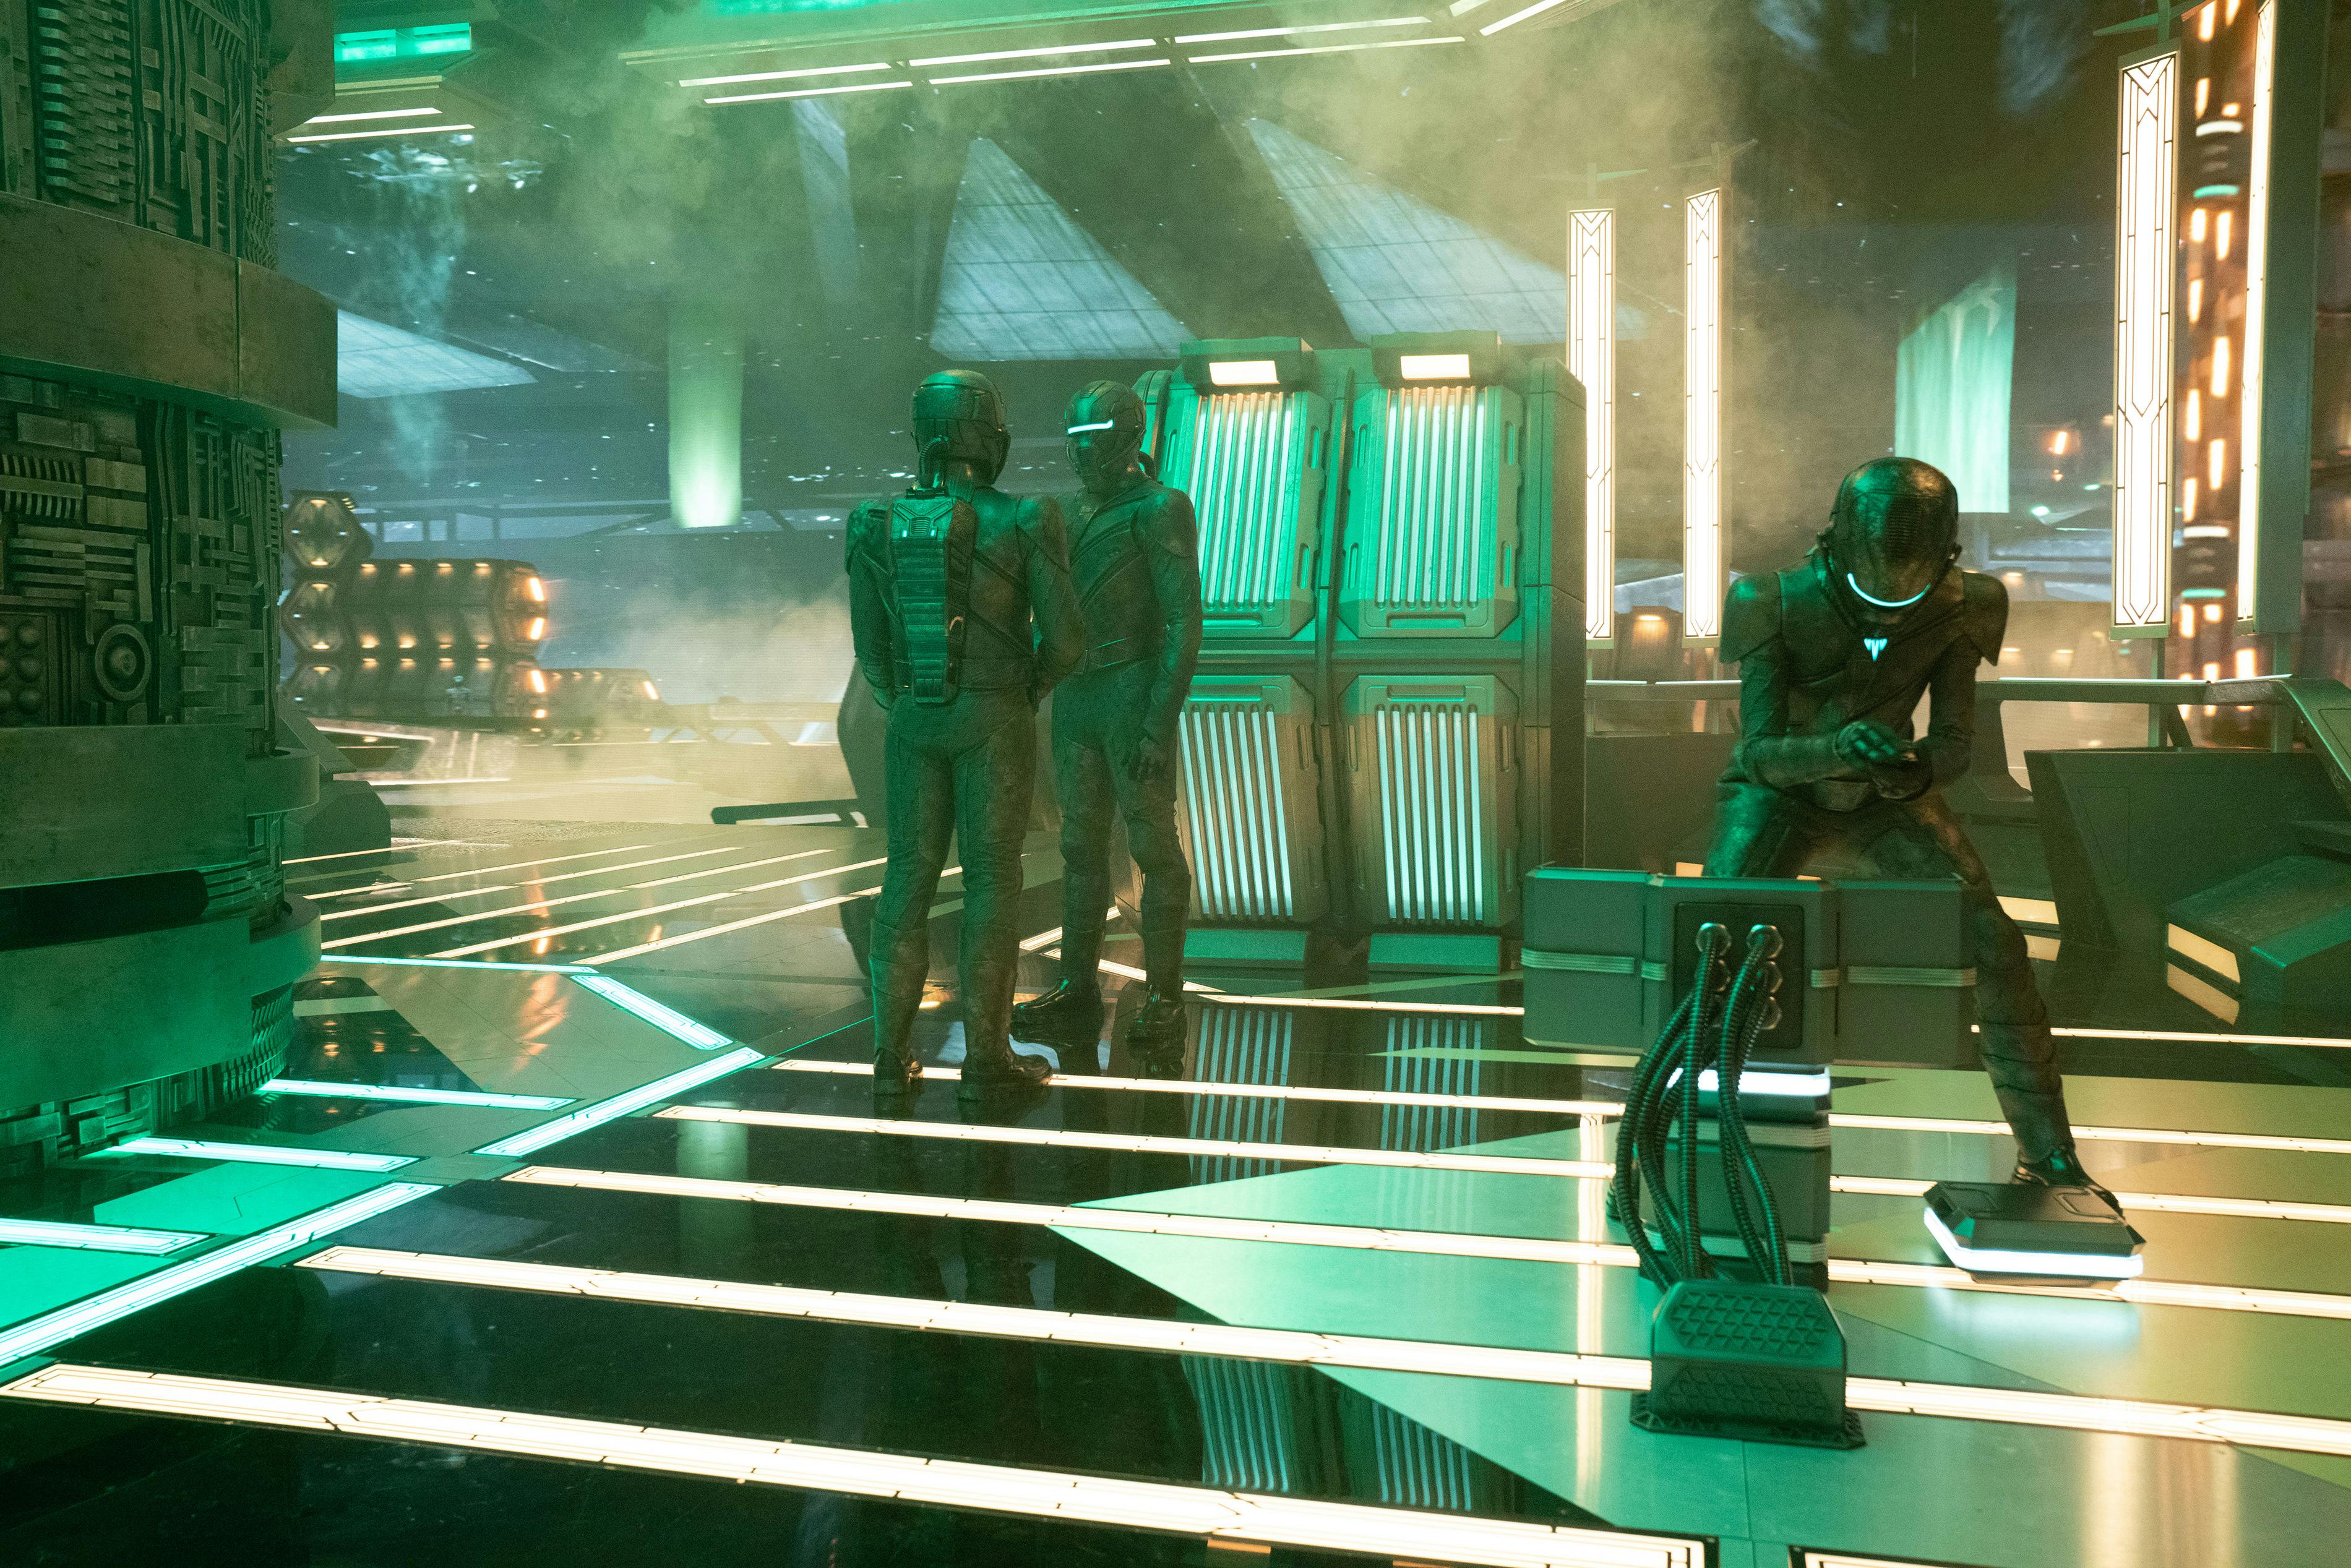
In the Breen Dreadnaught's Shuttlebay, the structure is encased in a translucent green quarantine field. Moll considers the container, ordering the field to be taken down and handing the recently assembled map to Lieutenant Arisar. The Breen carefully passes it to one of his troops, and Moll promises the soldier that the Scion will reward him for his service. The subordinate cautiously fits the map into the circular access point, causing the structure's sides to retract slightly. An intense green glow emanates from within, leaving the soldier to hesitate and turn back to Arisar. The lieutenant orders him in, and the trooper reaches his hand toward the opening. The light grabs him, suddenly pulling him inside.
The vanishing act infuriates Moll, who demands that a nearby scientist not speak to her in Breen. The helmeted officer reports that the soldier no longer registers on scans. This appears to be an extra-dimensional gateway to an unknown location. Assuming the Progenitors' tech is on the other side, Moll will let the scientists analyze it to ensure that it is safe. Meanwhile, she retrieves a portable pattern buffer from her clothing. Learning how to use the Progenitors' power could take time, so this will preserve L'ak's body until then. Arisar nods, and Moll approaches her partner's corpse as it rests in state several feet away. She presses her head to L'ak's, promising to bring him back and securing the device to his helmet. Moll activates it, transferring L'ak's pattern into the buffer and affixing the storage unit on her sleeve.
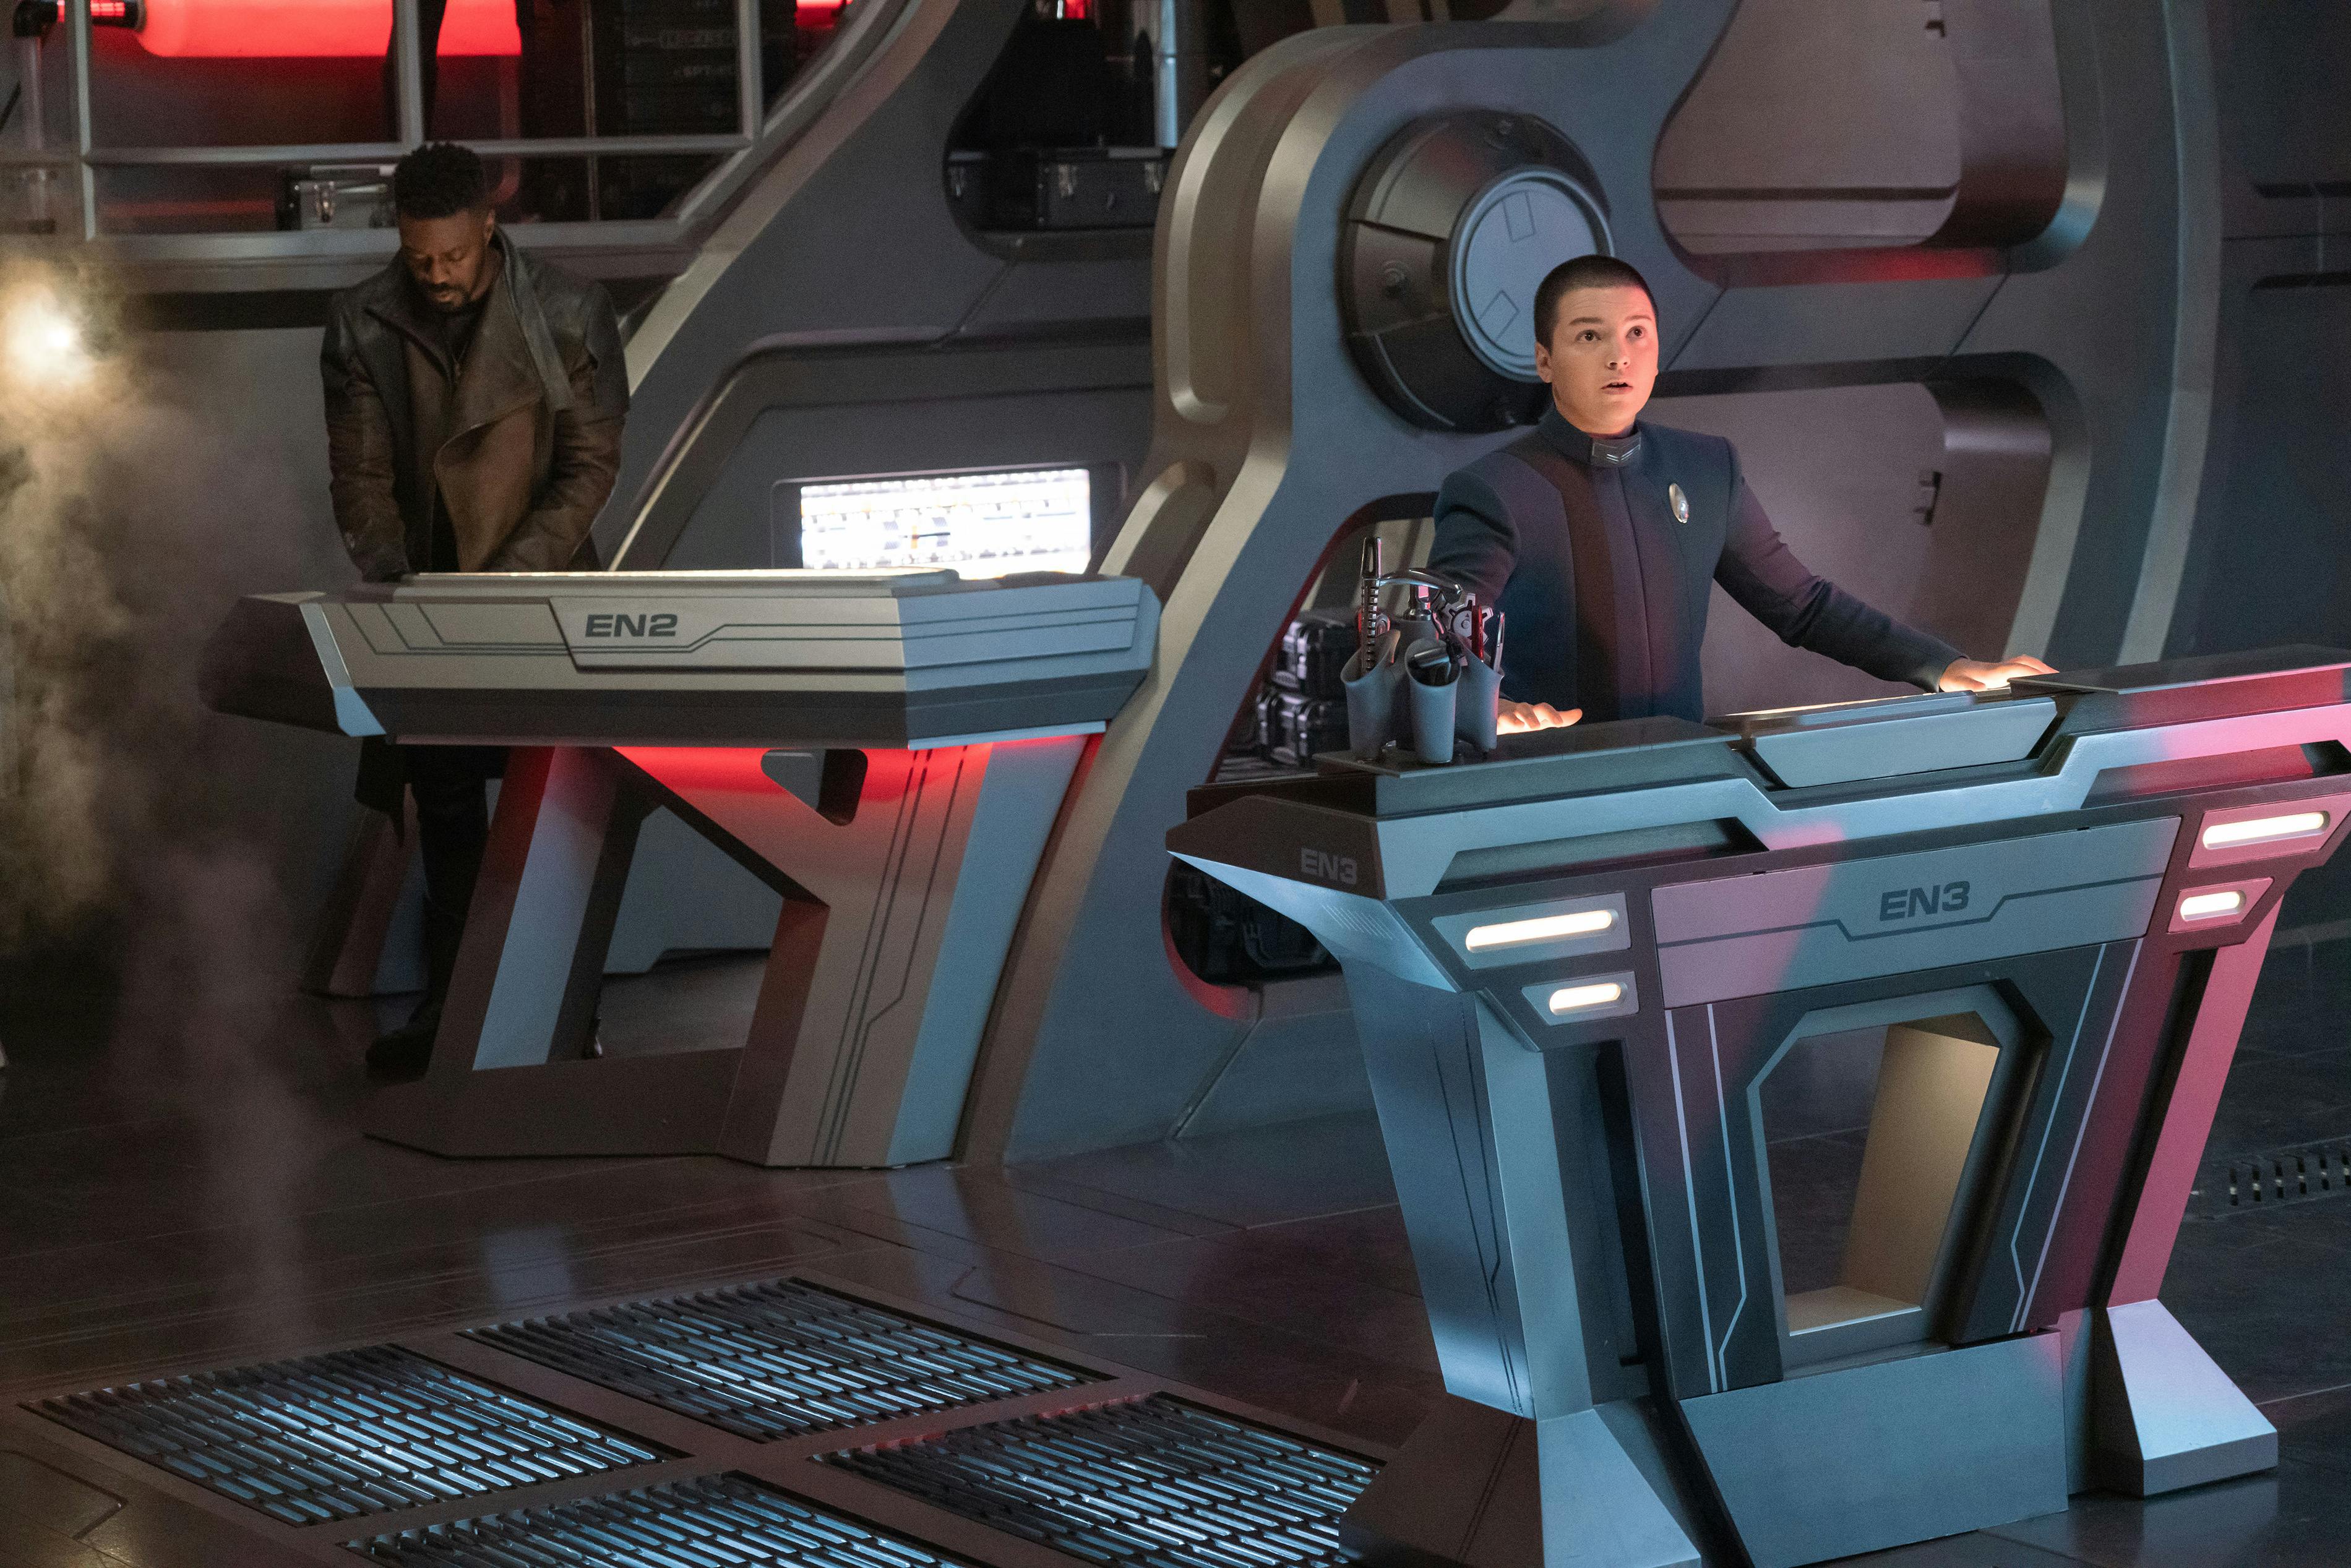
Outfitted in a Breen suit, Adira strolls through a corridor in Discovery alongside Culber and Stamets. The doctor reminisces about Adira wishing him luck on his mission to the Ten-C planet, pleased that he now gets to do the same for them. Stamets expresses his reluctant pride, but assures them both that they will be fine. Zora's voice calls out over the comm system, notifying Adira that they are expected in the Shuttlebay. Adira beams out, supplying Culber with a moment to give Stamets a loving kiss and a comforting embrace.

"Lagrange Point"
StarTrek.com
On the Bridge, Rayner rallies his command crew — Tilly, Jemison, Asha, and Lieutenants Linus, Christopher, and Naya. Tilly steps back to Christopher's station, whispering her observation that the Kellerun first officer never sits in the captain's chair. Christopher confirms her analysis, as they've all noticed he avoids it like the plague. With Discovery still cloaked, the shuttle launches with Book at the helm and Burnham, Adira, and Rhys — all in Breen suits — aboard. Shields are raised, but Adira determines that the exhaust ports will fire at a temperature of at least 3,000 degrees Kelvin. However, the heat will camouflage their transporter signals so they can beam in undetected. Shields will give them sixty seconds before the shuttle burns to a crisp, but the craft is rocked by thermal radiation as Book endeavors to maneuver them into position.
Adira alerts them to an issue, but as they try to explain the complication, Captain Burnham orders, "Science later, problem now!" Shouting over the turbulent flight, Adira states that there are two Breen lifesigns where they have to beam in. Rhys asks why they can't beam in elsewhere, leading Adira to answer with Burnham's "science later, problem now" declaration — they just can't! The computer informs them that a hull breach is imminent, prompting Burnham to tell the crew to put on their Breen helmets and transport over to the Dreadnaught.
The four Discovery crew members land on the deck with unsteady feet, barely able to get their bearings before the two Breen turn a corner and approach them. The Breen guards confront the newcomers in their metallic machine language, but the Starfleet replica suits need a moment before they will begin translating in real time. The deciphered inquiry is piped into their helmets, as the guard demands they justify themselves. Burnham bursts into a rage, calling one of her undercover subordinates a pathetic achworm and chastising them for setting the transporter to the wrong sector. She shifts her ire to one of the Breen guards, slapping his weapon to the side and noting that his dishonorable conduct would disgust their Scion. The convincing ruse fools the Breen, and they continue on their patrol. Having succeeded in infiltrating the enemy vessel, Alpha and Bravo Teams split up to pursue their tasks.

"Lagrange Point"
StarTrek.com
Back at Federation HQ, President Rillak narrates a message to Primarch Tahal of the Third Flight and appeals for a meeting on a matter of utmost urgency. A communications officer indicates that the Breen received the message, but once again, no response was sent in return. T'Rina, Saru, and Attaché Mia Greer are also present, and Ni'Var's president concludes that Tahal is ignoring the communiques. In need of a way to stop Tahal's fleet, T'Rina suggests that the U.S.S. Mitchell could use its pathway drive to intercept them. Fearing the arrival of a Federation starship would escalate the situation, Saru recommends they dispatch a harmless shuttle instead. One was outfitted with the new propulsion system when the Pathway program began. The small craft couldn't be perceived as a threat to Tahal, but it might be able to force the face-to-face dialogue necessary to slow her down. If misunderstood, the trip could be a suicide mission.
Greer weighs in, urging Rillak to stay at Fed HQ for last-minute negotiations should the shuttle gesture fail. T'Rina offers to draw up a list of suitable candidates who could be Rillak's delegate. Saru interjects, citing his tactical and diplomatic experience — as well as the fact that he used to serve on Discovery — as reasons he should pilot the shuttle to Tahal. Rillak considers it for a moment, ultimately opting to sanction his plan. Rillak and the others clear the room, providing Saru and T'Rina with a moment alone. Ni'Var's president shakes her head before departing herself.
In a hallway on the Dreadnaught, Burnham and Book encounter another armed Breen. The soldier speaks to them but uses words that aren't in the database. The captain recognizes the term sarkaress as a Breen feast day, venturing that the best response would be to agree to join the festivities. The soldier nods in appreciation and moves on. With their path now clear thanks to xenoanthropology — the gift that keeps on giving — Book senses Michael might be worried about the mission. She pulls him aside to tell him the real reason for her disposition, quietly explaining that the mindscape forced her to look at some things about herself and their relationship. Burnham let them drift apart because she felt like she'd failed, and it seemed easier to turn away. She apologizes, but Book confesses he did the same thing for the same reason. Book’s apology is cut short by the rhythm of boots marching on the deck, heralding the arrival of a heavily-armed Breen squad. Realizing that it's probably a shift change, Burnham and Book resolve to finish their assignment and push ahead.
"Lagrange Point"
StarTrek.com
Lieutenant Arisar reports to Moll on the Dreadnought's Bridge, informing her that their scientists have been unable to determine what's inside the gateway. The only way to get reliable data is to send someone through with the proper equipment. Unbeknownst to them, Rhys and Adira step into the vessel's command center with their disguises intact. Noticing a symbol on one soldier's arm which signals their status as the lowest-ranking bridge crew member, Rhys declares that trooper's console to be their mark. Or, as Adira puts it, everyone always picks on the ensign. Rhys commands the soldier to vacate his station, and a follow up from Adira sends the Breen into a retreat. Apprehension takes hold of Adira, but Rhys places a steadying hand on their arm. The ensign alerts Burnham that they're hacking into the shield systems.
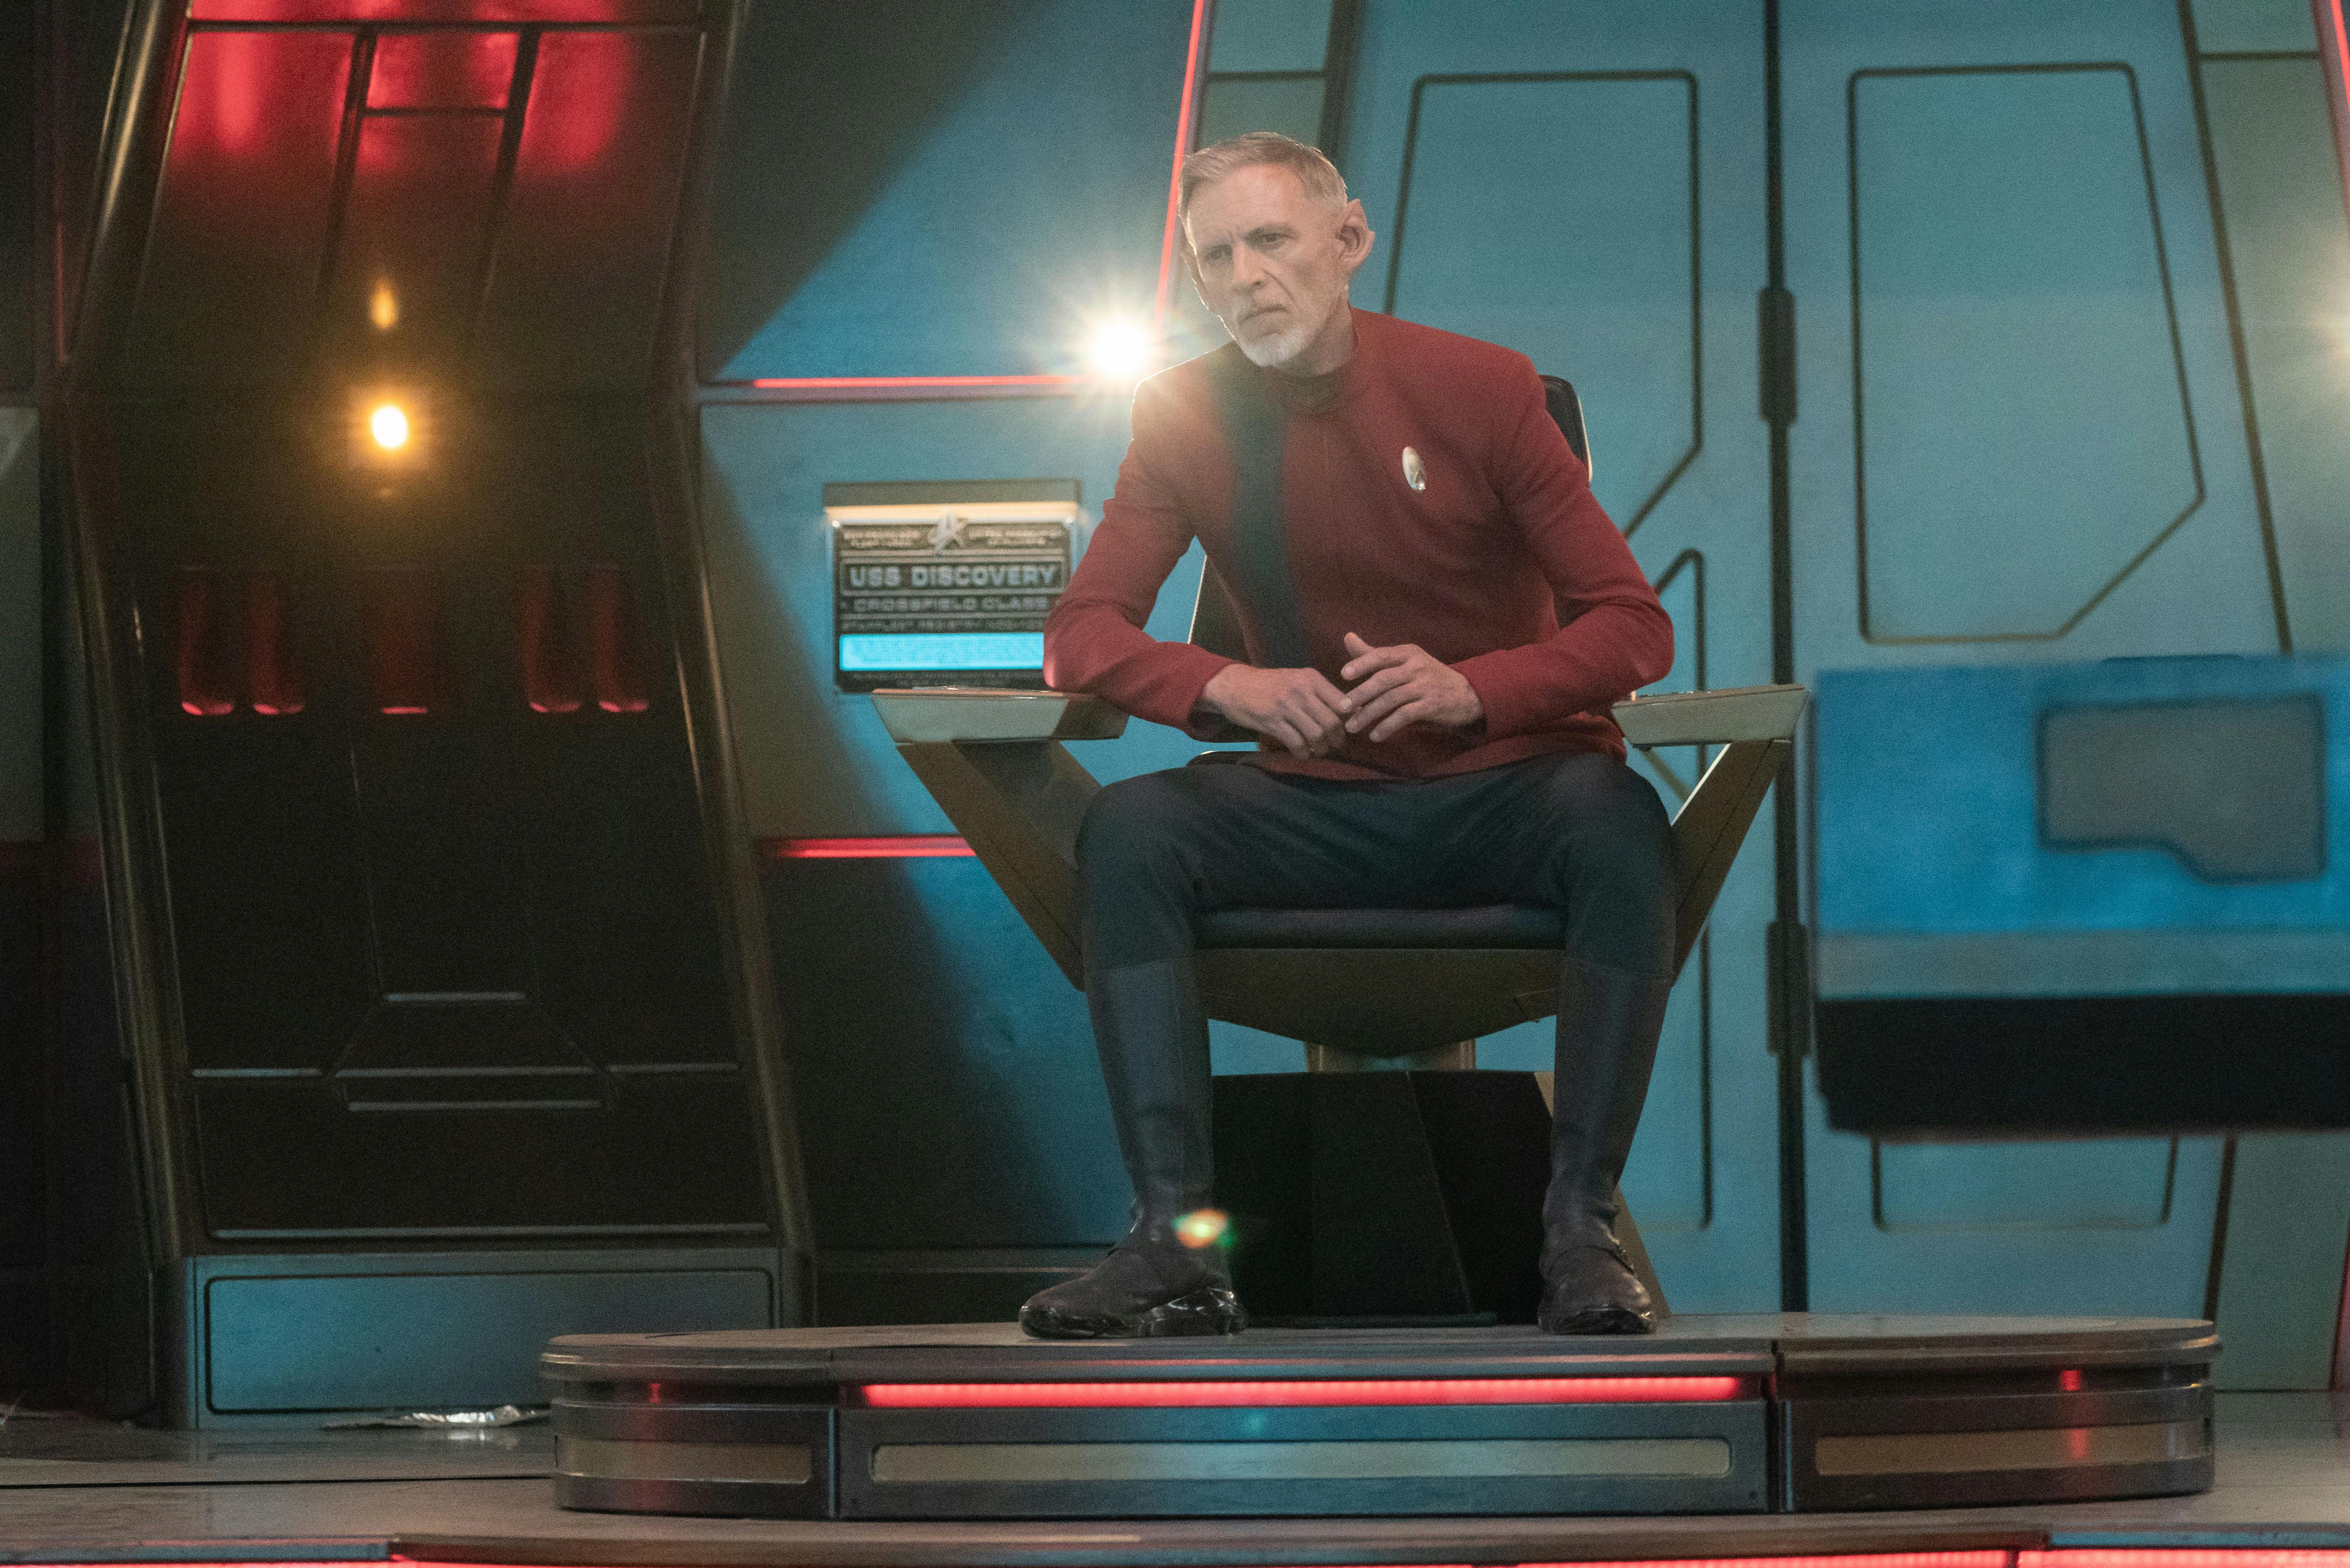
On the Discovery-A's own Bridge, Rayner verifies that the ship will be ready to beam the team out and jump away as soon as the away team drops the Breen's shields. Shifting to his command crew, Rayner listens as each station checks in. The cloak and shields are nominal, and the Dreadnaught still doesn't seem to know the Federation ship is there. Lieutenant Gallo has all systems armed and ready at tactical, while Tilly updates the first officer on Tahal's fleet — it's less than two hours away. The updates complete, Tilly softly voices that Rayner's pacing is making everybody nervous. He's still hesitant to sit in the captain's chair, prompting Tilly to state that Burnham trusts him to lead Discovery, as they all do. Rayner responds by clarifying why he picked Tilly as his Number One — she's smart as hell and a good leader. If they were stuck in a foxhole together, Rayner wouldn't kill her… unless she gave him more of the "warm and fuzzy" encouragement that he doesn't need. Despite his words, they trade cautious grins.
Aboard the Dreadnaught, Burnham and Book get within visual range of the entrance to the Shuttlebay. Two Breen are guarding the door, and they watch as a Breen scientist's visor is scanned by the security system before they are permitted to enter the restricted area. Hoping their replicated suits will get them through, Book strides up to the scanner. The display flashes a harsh red, and the soldiers order him to vacate the corridor. Taking on the aura of a disgruntled Breen commander, Burnham yells at Book for forgetting to complete his clearance forms. The former courier leans into the ruse, aggressively pointing at Burnham. Their argument provides the perfect distraction, allowing them to jump the guards and incapacitate them. Burnham and Book hoist one of the Breen up to the door, gaining access by having the system scan the soldier's visor. They catch sight of the structure and begin concealing the guards' bodies.
"Lagrange Point"
StarTrek.com
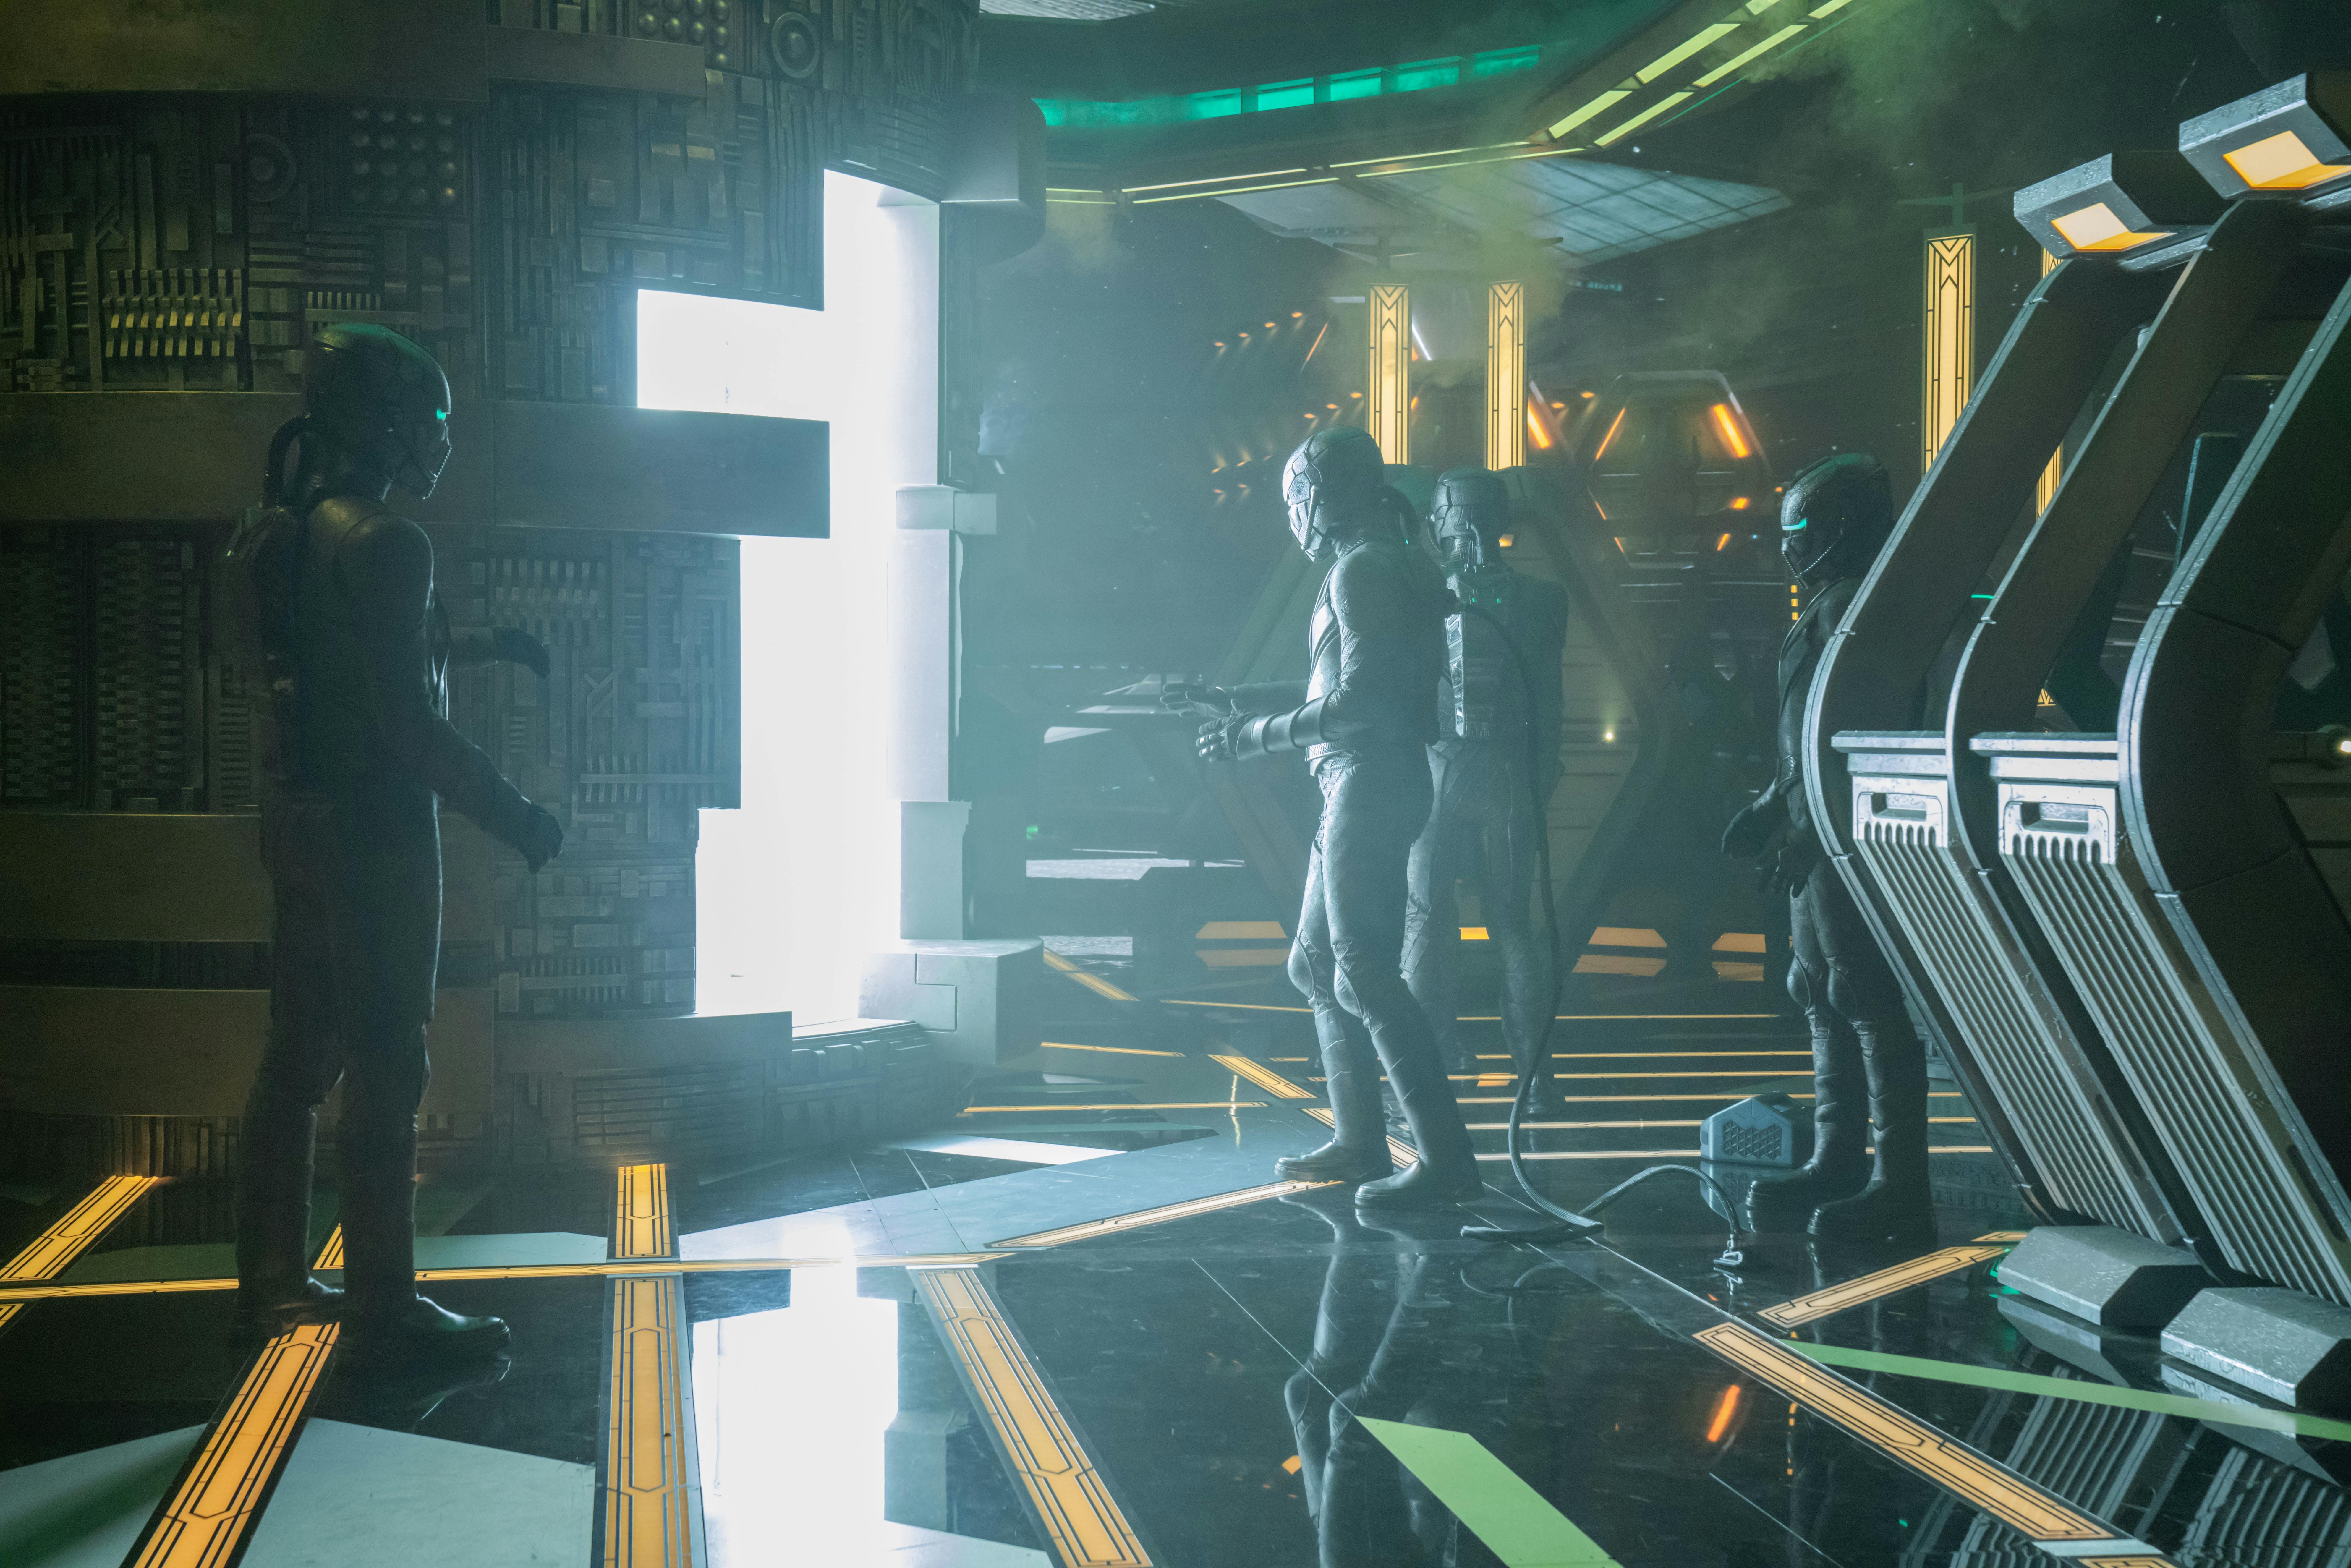
Within the Shuttlebay, Burnham and Book watch as another Breen readies themself to enter the structure, this time with a cable connecting their suit to the ship’s deck. The additional safety measure makes no difference, and the Breen is sucked through the portal. Burnham reckons it must lead to the Progenitors’ tech, but is dismayed when the Breen raise a quarantine field around the structure. Book notes that the field draws power from a small box, and the captain adjusts her replicated suit to manifest a Breen science division symbol on her chest. She surprises Book by placing him on distraction duty and walks over to the Breen who is protecting the power source. Burnham covers herself with the claim that she’s performing maintenance, and Book tries to make idle conversation with the guard.
As Burnham successfully opens the power source, Book asks the Breen soldier about the sarkaress. The guard is receptive to the chat, so Book proposes that he and the soldier attend the feast together. Burnham is impressed by the flirting — a bold move — but things get too close for Book's comfort when the Breen offers to prepare a space for him in their oil bath. Burnham responds to Book’s concern with a playful demeanor before contacting Rhys and Adira on the Bridge. Adira finishes their work, happily declaring that shields are ready to drop. Moll receives a report from Arisar at a separate station situated across the expansive room, immediately growing suspicious upon learning that two guards are missing from their posts outside the Shuttlebay. Her eyes dart around the room, and she places the Shuttlebay on full lockdown — all credentials must be checked. Rhys starts to communicate this development to Burnham, but an alarm has already begun blaring throughout the storage area.
Meanwhile, Saru prepares for his dangerous rendezvous with the Breen by reviewing intelligence files on Primarch Tahal in his quarters at Federation Headquarters. T'Rina enters the room, announcing that the Kelpien's shuttle is ready and that she hopes the files she supplied will prove useful. Saru is appreciative but struggles to broach what's truly on his mind. He composes himself and stands close to his partner, explaining that he felt T'Rina was trying to protect him by offering to draw up a list of other candidates during the meeting with Rillak. T'Rina admits that her actual intention had been to protect the mission. She considers Saru's safety to be of critical importance but fears he will hesitate to take the necessary risks since they are so close to their wedding.
Saru counters that he'd never allow personal considerations to interfere with professional obligations. As T'Rina emphasizes that he’d never consciously do so, Saru delicately points out that Vulcans are not the only species capable of choosing logic and duty over emotion. The comment draws a slight grin from T'Rina. They've both chosen lives of service, and balancing those jobs with their love for one another will never be easy — but at least they can face that struggle together. T'Rina states that it would be illogical for her to request that he promise to return, so she instead asks him to try. Saru steps forward and hugs her in a reassuring manner, confirming that he'll see her when he returns. T'Rina lovingly touches her partner's chin, and then Saru exits to head to his shuttle.
"Lagrange Point"
StarTrek.com
On the Dreadnaught, the Breen soldiers present in the Shuttlebay gather to have their credentials scanned. Captain Burnham still needs a few more minutes to get the containment field down, so Rayner advises her that he has a risky idea. Before he can describe his plan, Burnham expresses her trust in him and orders him to initiate his strategy without hesitation. Rayner addresses the crew on Discovery's Bridge — nothing grabs the attention like an unwelcome guest, especially one that they think is dead. He instructs Lieutenant Christopher to hail their enemy, an act which catches Moll off guard and momentarily stops her from leaving the Breen vessel's Bridge. Moll evaluates the predicament then directs Arisar to put the Dreadnaught on alert and arm weapons.
Thunderous alarms and pulsating lights bathe the Dreadnaught’s Bridge with a sense of urgency, and Moll answers Rayner's hail. Moll wonders why Rayner is the one hailing her, so he claims that Captain Burnham was killed during the attack at The Archive. A defiant Moll insists that Primarch Ruhn was responsible for the devastation, but he's dead now. Although Moll has the Progenitors' tech, Rayner relays that Primarch Tahal is on her way to draft Ruhn's ship into her own fleet. If Moll turns herself in and hands the Progenitors' technology over to Discovery, Rayner promises the Federation will protect her. Moll rejects the offer in an emphatic tone and closes the channel. His idea foiled, Rayner hears a report from Adira — Moll is leaving the Bridge. The Kellerun informs Burnham that she’s running out of time.
Fortunately, the captain wraps up her work on the power source in the Breen Dreadnaught's Shuttlebay. The quarantine field surrounding the structure drops, but weapons fire erupts around Burnham and Book before they accomplish their goal of securing the transpo-lock to it. They turn and find themselves encircled by Moll and a contingent of Breen soldiers. Cornered, they retract their helmets and face Moll without their disguises. Aware of Bravo Team's capture, Rayner contacts Adira and Rhys, commanding them to lower the Dreadnaught's shields once Burnham delivers a signal. They all listen in on the captain's open comm line as Moll questions her prisoners. Book refuses to share how they got on board — a good courier never reveals their secrets. The captain tries to appeal to Moll's love for L'ak but draws an angry response from her opponent. Committed to throwing them in the brig, Moll plans to go to warp before Tahal's arrival.

"Lagrange Point"
StarTrek.com
Rayner reacts by having Jemison ready Discovery's transporters, but Burnham attracts their attention by yelling, "Wait!" Making it seem like she's conversing with Moll, the captain claims she hasn't gotten a chance to give her grum of osikod. The reference to a Kellerun saying perplexes Moll, but Rayner realizes it means Burnham is actually directing her words towards him. Burnham speaks to Moll, harkening back to her spacewalk on the hull of Moll and L'ak's ship — when she also first met Rayner. The captain had been flying out there all alone in space, but she always knew her crew would come for her. Just like they'll come for her now. Unimpressed, Moll orders her troops to put the prisoners in the brig — they'll drop them off somewhere once they’re in the clear.
On Discovery's Bridge, Rayner smiles with enlightenment as the captain's message sinks in. On the other hand, Tilly does not. The lieutenant's confusion only deepens when Rayner remarks that they'll need to rip through the Breen Shuttlebay's containment field. He tasks Stamets with figuring out how to do it before reacting to Tilly's objection. Burnham and Book will be blasted out into space, but Rayner points out that is the captain's plan. Once outside of the Dreadnaught, the Discovery can beam Burnham, Book, and the structure aboard. Tilly covers her mouth to suppress her amazement. Rayner exudes confidence and dictates the crew's next actions — go to Red Alert, decloak, set course for the Breen Shuttlebay, and start firing with everything they've got.
The Discovery-A races forward, targeting the Dreadnaught with an array of phasers and photon torpedoes. The Breen vessel fires back. Burnham and Book harness the much-needed distraction to take down the two soldiers guarding them. As the Federation ship takes damage, Rayner contacts Stamets in Engineering. The astromycologist outlines a strategy — the ship must fly at full impulse, tilted down at 35.2 degrees with modulating shields concentrated on the deflector dish in order to pierce the containment field and maintain structural integrity. Culber asks if he thinks it will actually work, and Stamets responds with conviction, "Math doesn't lie." They will get Adira and everyone else out.
In the Breen Shuttlebay, Book and Burnham seek cover and dodge weapons fire. On the Dreadnaught’s Bridge, Adira drops the vessel's shields and draws the attention of two Breen guards. Rhys intercepts them and engages in close quarters combat, and Adira moves to assist him. The Discovery-A beams Rhys and Adira away, continuing its charge towards the Shuttlebay. Moll stares at the approaching ship, reasoning that the Federation ship plans to blow the structure out into space. Believing she might as well be dead if she can't bring L'ak back, Moll is willing to risk going through the portal. Burnham spots Moll as she pulls toward the opening and rushes to stop her. The captain arrives a second too late, taking a pause to reflect on her next move. She exchanges an uncertain-but-knowing smile with Book and leaps into the portal. Book calls out to her as the Discovery-A pierces the Shuttlebay's containment field.
"Lagrange Point"
StarTrek.com
The breach sends the Shuttlebay's personnel and equipment flying, and the structure tumbles out into open space. The sequence ruptures the container, and the portal emerges from its confines to spread out into a much larger gateway. Having beamed to Discovery's Bridge, Book advises the Starfleet crew that Burnham went through the portal. The structure's speed and the density of debris prevent Jemison from locking on with a tractor beam, and Tilly's scans don't indicate any sign of the captain within the portal — she's just gone. Book insists he can feel that she's still alive. Rayner strides toward the viewscreen with newfound resolve, pointing at the portal and declaring, "Our captain is in there. The Progenitors' tech is in there. We're getting them both back."
Failure is not an option, and his rousing speech elicits inspired expressions among his subordinates. Rayner steps to the captain's chair, straightens his uniform, and takes a seat. Tapping the chair's armrest, Rayner proclaims, "Let’s do this."

StarTrek.com
* "" — While aboard the Jenolan, Will Riker, Geordi La Forge, and Worf learn that Captain Montgomery "Scotty" Scott was able to exist in the transporter's pattern buffer with almost no degradation for 75 years.

StarTrek.com
- Written by Sean Cochran & Ari Friedman
- Directed by Jonathan Frakes