
Published Jul 16, 2020
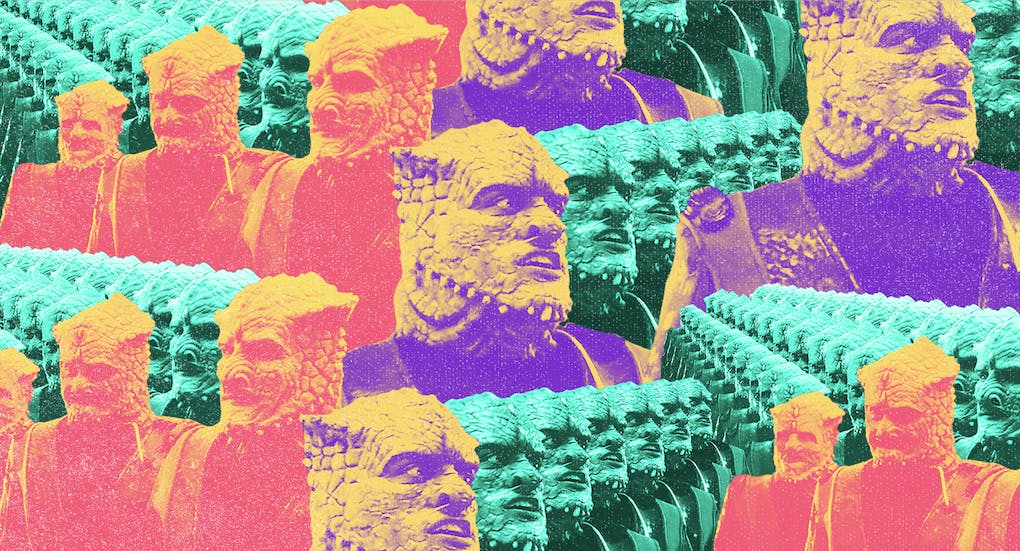
Who Will Be First? The Jem'Hadar, Ranked
Who were these troops who created such a lasting impression? Let's find out!
StarTrek.com
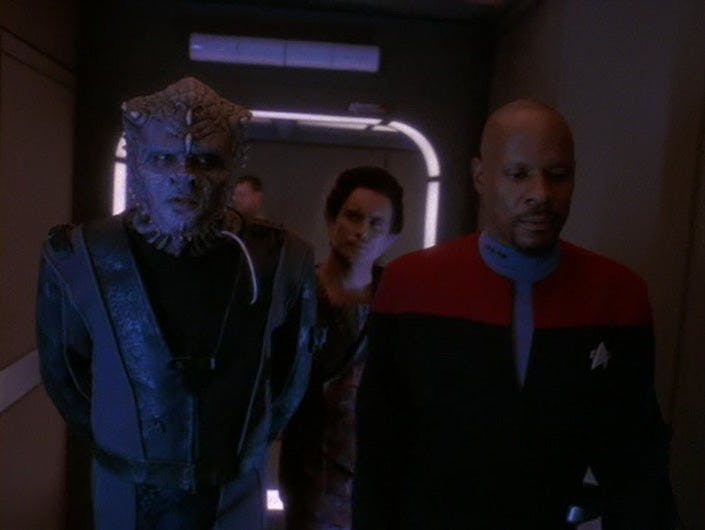
Bred to serve as the Dominion's elite soldiers, the Jem'Hadar valued obedience to the Founders and victory over their enemies above all else. While their genetically-crafted nature often left these flesh and blood weapons to appear as interchangeable parts within the Dominion's war machine, certain Jem'Hadar exhibited unique traits that made them stand out from among their merciless peers who plagued the Federation and its allies throughout Star Trek: Deep Space Nine. Who were these intrepid troops who created such lasting impressions on our fandom? Let's find out!
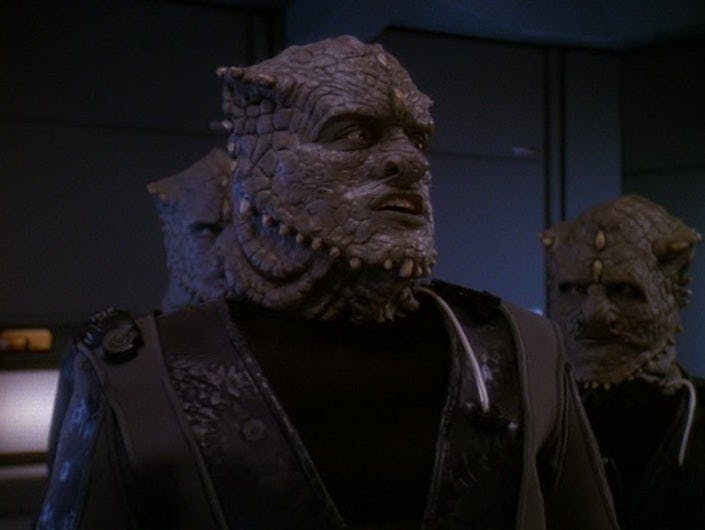
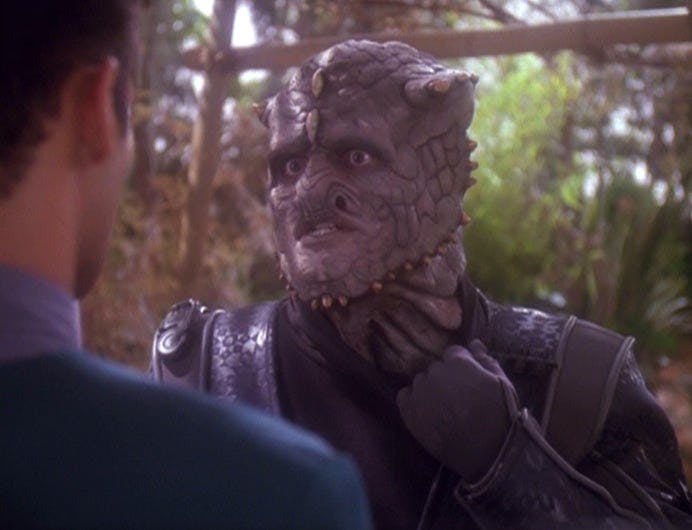
8. Toman'torax in “To The Death”
StarTrek.com
Our list focuses on individuals, so you may notice that the renegade Jem'Hadar strike team who rebelled against the Dominion, attacked Deep Space 9, and attempted to repair an Iconian gateway are absent from this group. Fortunately, several soldiers who were dispatched to eliminate the rogues did leave quite the impression. Toman'torax served as the Second under First Omet'iklan on the mission and frequently expressed his desire to subjugate the Klingon Empire. After engaging in a scuffle with Worf, Toman'torax was executed by Omet'iklan for disobeying orders. Although Toman'torax's appearance proved brief, fan-favorite guest star Brian Thompson's memorable performance earned the character a place in our ranking.
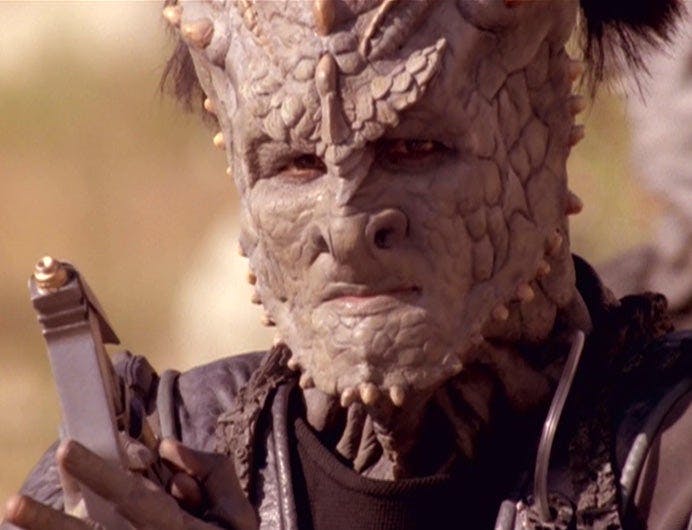
7. Virak'kara in “To The Death”

StarTrek.com
Another member of Omet'iklan's loyal Jem'Hadar force, Virak'kara revealed unusual details about his species's lifestyle in a conversation with Jadzia Dax. While observing Dax at her post, Virak'kara stunned the Starfleet officer by stating that the Jem'Hadar never slept, ate, or relaxed. The stone-faced soldier explained that he and his (all male) comrades could fight within days of emerging from their birthing chambers and rarely lived to be fifteen years old. Despite these differences, Dax and Virak'kara forged a somewhat cordial bond that carried over onto the battlefield during their assault on the Iconian complex.
6. Talak'talan in “The Jem'Hadar”
StarTrek.com
The very first Jem'Hadar to speak during the species's debut episode, Talak'talan imprisoned Benjamin Sisko and Quark before journeying to Deep Space 9 and paying an unwelcome visit to ops. Talak'talan's cruel and efficient attitude supplied the perfect introduction to the Jem'Hadar as he detailed the unsavory fate that befell the Alpha Quadrant starships and the Bajoran colonists who the Dominion felt had violated its borders. Talak'talan's ability to beam through the station's shields, walk through a containment field, and cloak himself from view highlighted the Dominion's frightening technological advances. Combined with the destruction of the Galaxy-class U.S.S. Odyssey, Talak'talan's ruthless demeanor foreshadowed the relentless foes that the Federation would come to know all too well during the Dominion War.
5. Ixtana'Rax and Kudak'Etan in “One Little Ship”

StarTrek.com
Unable to receive reinforcements from the Gamma Quadrant, the Dominion began breeding additional legions of Jem'Hadar in the Alpha Quadrant. Appropriately referred to as “Alphas,” these specialized troops were evidently intended to supplant their elder predecessors. Ixtana'Rax, an experienced Gamma who was demoted to Second to make room for the Alpha known as Kudak'Etan, believed the new breed to be unproven and arrogant.
Episode Preview: The Jem'Hadar
When their unit captured the U.S.S. Defiant, Ixtana'Rax wisely advised his superior that Captain Sisko surely intended to stall for time and retake the ship. Kudak'Etan's clear disdain for Ixtana'Rax and Gammas blinded him to the truth, an error that eventually permitted the Starfleet prisoners to defeat the Jem'Hadar force. Oddly enough, Ixtana'Rax used his dying breath to defend Kudak'Etan's hubris by asserting that a First is not required to listen to anyone else's counsel. "One Little Ship" proved to be the only episode that shed light on the Gamma/Alpha divide, but it would have been interesting to see the subject explored further.
4. Ikat'ika in “In Purgatory's Shadow” and “By Inferno's Light”
StarTrek.com
Serving under the Vorta known as Deyos, Ikat'ika commanded the Jem'Hadar who guarded Worf, Dr. Bashir, Garak, and Martok at Internment Camp 371. When Worf was forced to fight Jem'Hadar in hand-to-hand combat scrimmages, Martok revealed that Ikat'ika had been the soldier who inflicted the wound that caused him to lose an eye. Stern and unwavering, Ikat'ika manifested a glimmer of individuality when he pronounced that Deyos did not understand the concept of honor.
When Ikat'ika and Worf finally faced off in a deadly match, the Jem'Hadar repeatedly knocked the Klingon to the ground. Ikat'ika surprisingly admitted that Worf had demonstrated his worth, but the Starfleet officer still refused to submit. Deyos ordered Ikat'ika to kill Worf, but the Jem'Hadar boldly disobeyed his superior by yielding the battle to his opponent. Ikat'ika reasoned that he could not truly defeat Worf, even if he ended the Klingon's life. Ikat'ika's commendable actions helped him land on our list, but they also propelled Deyos to order his execution.
3. Omet'iklan in “To The Death”
StarTrek.com
The Jem'Hadar who led the team that included Toman'torax and Virak'kara, First Omet'iklan took orders from the Vorta known as Weyoun (Weyoun 4, to be specific!). Omet'iklan cooperated with Sisko during their hunt for the renegade Jem'Hadar garrison, but the First stressed that he despised only his traitorous brethren more than the Federation. However, Sisko's willingness to place his body in harm's way to protect Omet'iklan on Vandros IV appeared to impress the Jem'Hadar.
On the other hand, Weyoun's decision to withhold information about the Iconian gateway from his soldiers angered Omet'iklan, who ultimately killed the Vorta for questioning his unit's loyalty. Despite this unexpected reversal, Omet'iklan vowed to hunt for the surviving defectors and underlined the fact that he still perceived Sisko to be an enemy. Nevertheless, the First willingly restrained his hatred and allowed the Starfleet officers to depart without any opposition.
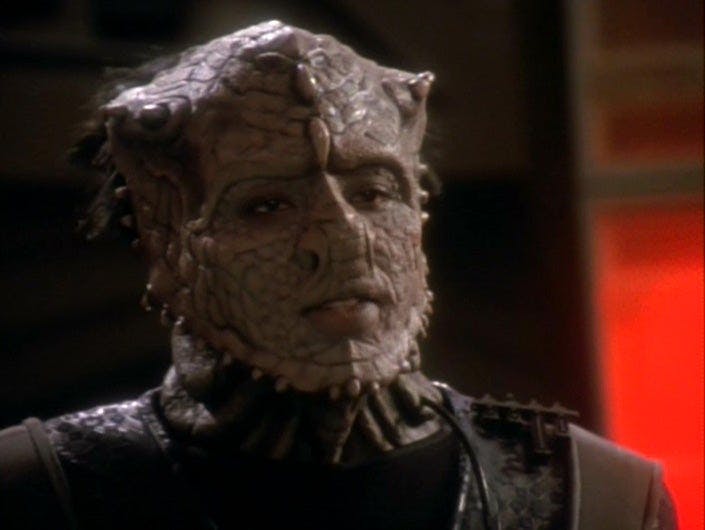
2. Goran'Agar in “Hippocratic Oath”
StarTrek.com
Goran'Agar captured Dr. Bashir and Chief O'Brien when the Starfleet officers visited Bopak III, where the Jem'Hadar First had brought his men to escape the Vorta and break their addiction to ketracel-white. Goran'Agar believed that the planet had cured him of the need for the drug during a previous visit and hoped Dr. Bashir could discover the cause. The First saw his people as slaves to the Dominion and wished to free them from the endless wars that the Founders involved them in. Goran'Agar even questioned the senseless execution of wounded Jem'Hadar soldiers who could no longer fight.
Bashir noted that Goran'Agar seemed to be developing his own moral structure and hypothesized that liberating other Jem'Hadar from a dependency on ketracel-white might encourage them to think for themselves. The doctor felt that his work showed promise, but he eventually realized that Goran'Agar had probably never been addicted to the drug due to a random genetic mutation. As the First's soldiers began to doubt their leader, Goran'Agar chose to hunt down his subordinates rather than let them suffer from the lack of ketracel-white. In a situation that paralleled Omet'iklan's dealings with Sisko, Goran'Agar released Bashir and O'Brien so that the pair could escape. Goran'Agar represented a new future for his people, and it is very possible that he continues to survive on Bopak III.
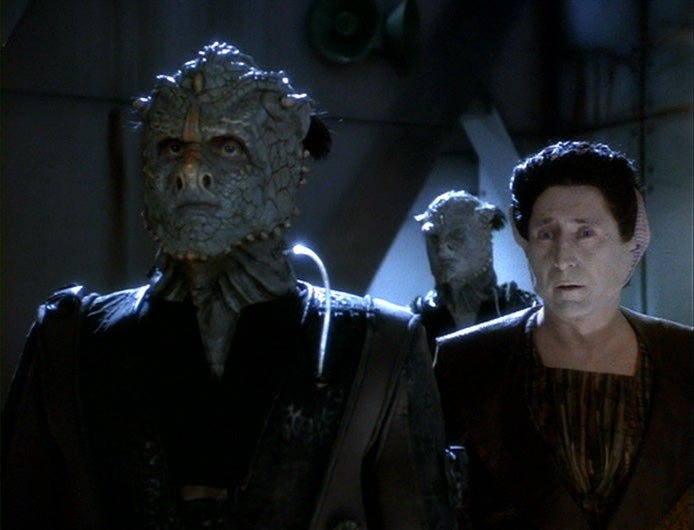
1. Remata'Klan in “Rocks and Shoals”
StarTrek.com
The tragic circumstances surrounding Third Remata'Klan's fate has launched this particular Jem'Hadar to the top of our list. Yet another soldier willing to question the Vorta to whom he reported, Remata'Klan nonetheless perceived his obedience to Keevan as the true order of things. Keevan met with Captain Sisko in private, explained that his ketracel-white supply would soon run out, and offered to intentionally send Remata'Klan and his Jem'Hadar unit into an ambush in exchange for a way off of the planet.
Sisko reluctantly agreed, but the captain approached Remata'klan with the opportunity to surrender when the time came to spring the trap. The Third admitted that he suspected Keevan had betrayed him, yet he refused to capitulate or disobey the Vorta's orders. The ensuing firefight wiped out Remata'klan and the remaining Jem'Hadar, and one of the Starfleet guards under Sisko's command also perished. Remata'klan could have avoided the gruesome outcome, but every fiber of his existence compelled him to serve and die at the behest of the Vorta. With such dedication from their enemies, it is a miracle that the Federation and its allies managed to defeat the Dominion after two years of all-out conflict.
Jay Stobie (he/him) is a freelance writer who contributes articles to the official Star Trek website and Star Trek Magazine, as well as to Star Wars Insider and the official Star Wars website. Jay also serves as a part-time assistant and consultant advising many actors and creatives who work on his favorite sci-fi shows and films. He can be found on Twitter and Instagram at @StobiesGalaxy.