
Published Oct 26, 2022
10 Minute Makeup Tutorial | Bajoran Nose Ridges
Need a quick and easy Star Trek look? We got you covered!
StarTrek.com
You’ve seen them at conventions — splotchy colored Bajoran nose ridges bumpy in all the wrong places.
To use Gul Dukat’s favorite phrase, “rest assured,” those intrepid cosplayers spent hours and hours working hard on their makeup. It’s difficult creating a three-dimensional ridge on a flat surface. But, “rest assured,” you too can apply, in less than 10 minutes, Bajoran nose ridges, with absolutely no rough edges to speak of, that perfectly match your skin color.

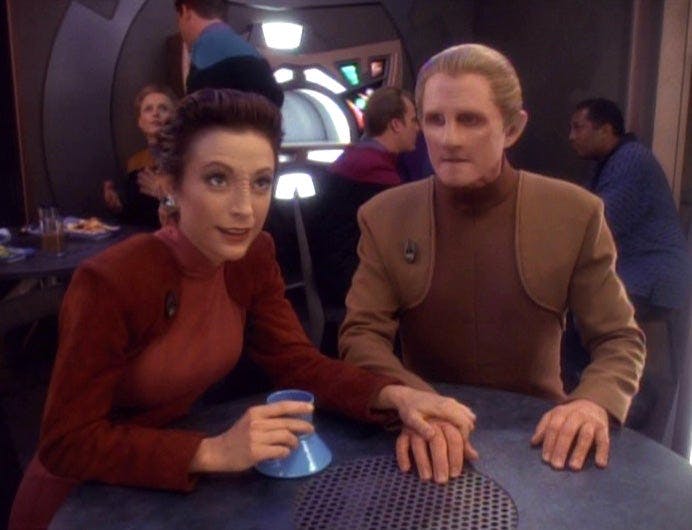
When I first decided to cosplay Deep Space Nine's Major Kira, I spent forever on the nose ridges — researching different methods, buying various pre-made prosthetics, or making my own out of various latexes and gels. It was an expensive experimentation. But no matter what approach I took, I was never satisfied with the results.
It took too much time to apply, or the edges and/or color didn’t blend into my skin. The closest I ever got to doing my own nose ridges was a one-hour application time with OK color match and marginal results blending the edges. And after sweating in it as it progressively looked worse and worse, it would take a half hour to remove it carefully enough that I could use the nose again. I then realized that cosplay is more like live theater than it is like film and changed my approach.
In filming, the camera will often be very close to the makeup; the makeup has to actually be three-dimensional to create the desired illusion. Additionally, there is benefit of having a makeup artist on stand-by to do touch-ups in between takes. What looks like a continuous five-minute scene with perfect makeup is actually hours of work with multiple pauses to fix the makeup.
StarTrek.com
Cosplay, on the other hand, is much more like live theater. The viewing audience is in the same space as the performer, and usually not more than an arm’s length away. As a result, a three-dimensional illusion can be achieved with highlights and shadows. A cosplayer, like a stage performer, has one continuous performance with very little chance to touch-up the makeup.
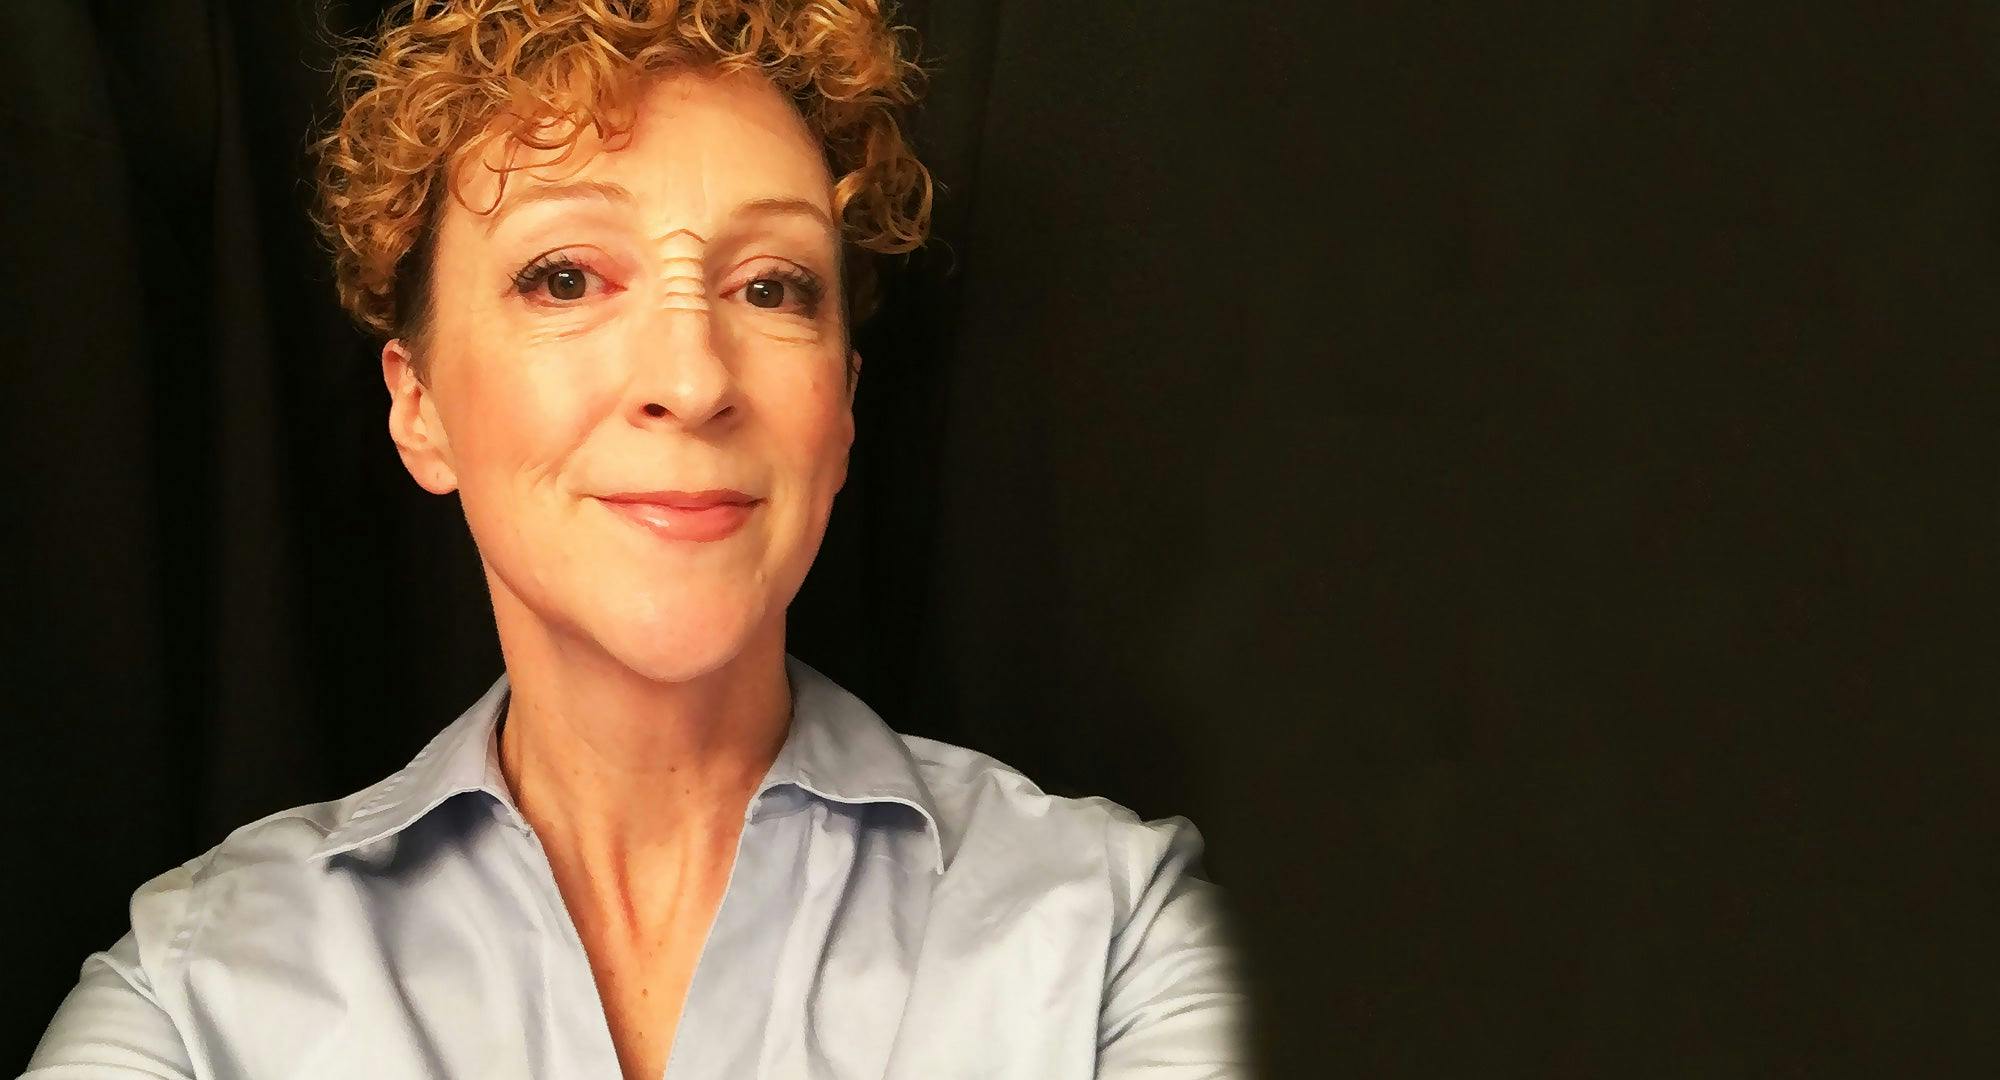
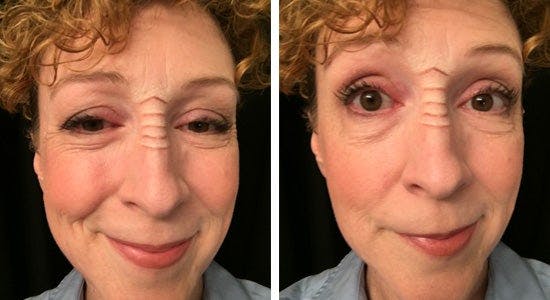
Tweaking your mindset to that of a makeup artist for stage, use a variation of the stage makeup trick for old age wrinkles. Not only that, this works better than prosthetic ridges as it uses your own skin color and doesn't require blending out any edges. Even within an arm’s length, I’ve had people think it was three-dimensional. With a little practice, it takes mere minutes to apply, stays on well for most of the day, and a couple seconds to remove.
Simply, apply two colors in lines, touching each other along their length. Create the illusion of a wrinkle where the two colors meet, but do not blend.
What You'll Need
- Crème highlight that will work for your skin color
(I use Ben Nye Ultralight as I’m super pale.) - Crème character shadow, dark enough to create a shadow effect on skin
(I use Ben Nye Character Shadow.) - ¼” flat brush or eye brow brush
- Translucent powder or any loose powder that matches skin tone
- Photo reference
(It doesn’t matter how many times I’ve done it, I always pull out a picture for reference. Google thinks I have no idea what Major Kira looks like, I’ve searched for the pictures so much.)
Bajoran Nose Ridge Makeup Tutorial
Step 1: Wash, dry, and moisturize your face.
Step 2: Do your usual makeup routine that makes you happy. Or not.
Step 3: Using the flat brush, apply the highlight in horizontal lines across your nose.
TIP: The highlight lines will be directly above the shadow lines, which you will apply later.

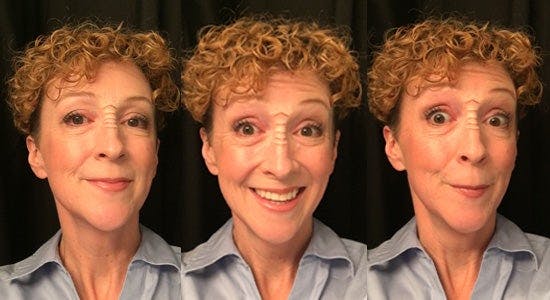
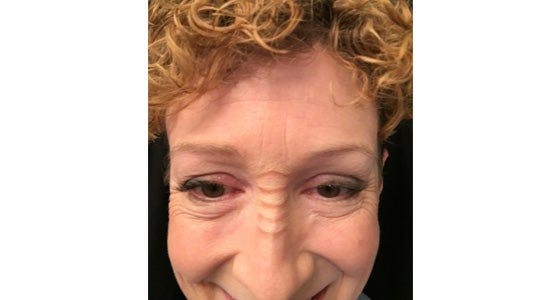
I wrinkle up my nose to see where the wrinkles naturally lie and follow those lines as much as possible. The lines will be about 1/16” thick each — each line has a top edge and a bottom edge.

Step 5: Wipe the excess makeup from the brush. Then, using the flat brush, carefully feather out the top edge of the highlight lines.

TIP: Do not touch the bottom of the highlight lines with the brush.
Step 6: It is absolutely key to keep the bottom edge of the highlight line crisp and clean. Blend the top edge of the line so that it fades out.
Step 7: Clean off the brush, or at least wipe off most of the light-colored makeup from the bristles.
Step 8: Using the brush, directly below the highlight lines, apply the shadow lines.
TIP: Touch the brush right up against the crisp line of the bottom edge of the highlight lines, but not over that edge.
The two colors should touch, but not overlap.
Step 9: Wipe the excess makeup from the brush.
Step 10: Using the brush, carefully feather out the bottom edge of the shadow lines, keeping the top edge of the shadow lines crisp and clean, while blending out the bottom edges.
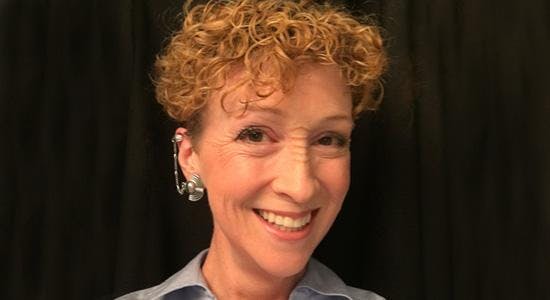
Step 11: Set the makeup with powder.
TIP: Do not rub the makeup when you’re wearing it; it should last as long as your regular makeup does.
Removal
Wash off along with your regular makeup, or use a baby wipe if you just want to take off the ridges.
This article was originally published on January 4, 2019.
Brooke Wilkins (she/her) is a professional costumer at Evermore Park, a soon-to-open immersive story living experience, populated by satyrs, fairies and other mythical creatures, where guests can participate in the story happening around them. She is a Utah-based costumer, designing and constructing for 40-plus productions. Brooke runs Garak’s Tailor Shop at Star Trek Las Vegas. You can follow her on Twitter @tanaquill1558.
Stay tuned to StarTrek.com for more details! And be sure to follow @StarTrek on Facebook, Twitter, and Instagram.