
Published Nov 23, 2014
Star Trek Timelines: How The User Experience Is Designed
Star Trek Timelines: How The User Experience Is Designed
Creating the user experience for an IP as well known and loved as Star Trek has been both a challenging and exciting task. The goal of the UI team at Disruptor Beam is to deliver an immersive game experience where the player feels like they are on the bridge of their own starship. We’ve taken a lot of inspiration from the LCARS interface system - which is basically the same look as the computers on the USS Enterprise D from Star Trek: The Next Generation - but have also modernized the look and feel for today’s gamers.
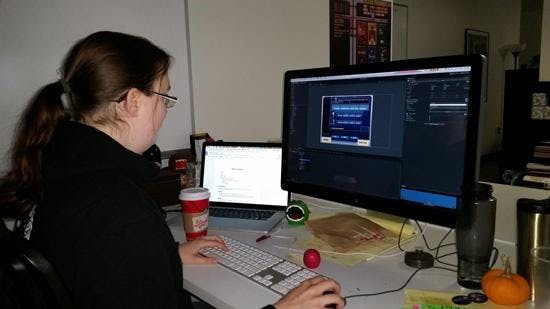
The responsibilities of the UI team begin with the game design/system design drafted by the lead game designer. We concept out screen flows of how the player will experience the game from start to finish. We map out the options for the player, to make the game more intuitive and fun, while keeping Star Trek in mind. Then we plan out the art style, until we feel that we have finally created a look and feel that encompasses the mood of our game. This iteration continues throughout production. Step One - The WireframeThe first iteration of the design is a basic box - what we call the wireframe of the UI which may not have any game art, but are simply grey boxes with indicators that give visual cues to what elements are buttons or text fields. Step Two - The Mock-upA mock-up is the more robust version of the wireframe, actual sizes are taken into account and I -- as Senior UX Designer -- start applying art styles to known widgets. Descriptions are added to the mock-up for documentation and once the concept is approved I start cutting up the design and implementing it inside of the Unity game engine. Over time, all placeholder images are replaced with final art.
Step Three - Applying the Art
After the mockup is approved, I start slicing up any needed art pieces and import them into the Unity game engine. UI game objects are created and laid out based on my mock-up’s measurements. I’ll create individual buttons or widgets that the player will interact with, and then apply the art to those objects. Many of our buttons and widgets are already created objects from a library that simply need to be put into place.
***
Once all the various pieces are set up, the next step is to create any transition animations or effects to the UI. The screen’s intro might have each of the elements pop onto the screen in a particular order, and the borders around the screen may light up as if loading up a new interface using LCARS. After all the animations and triggers are defined the screen is checked in and handed off to one of the engineers, who will then hook up the code necessary to bring the screen to life.
All that’s left are minor artistic tweaks and a little polish (and thorough testing by QA). Once it’s all put together and released, fans get to enjoy being on the bridge of their very own starship, traveling the galaxy, and going where no one has gone before.
For more updates on Star Trek Timelines, be sure to sign up for the Bridge Crew - you’ll even get an in-game Tribble for your trouble: https://games.disruptorbeam.com/timelines